DIY RV leveling jack repair // Powergear 500082
Total time: 4hrs
Difficulty: Novice
Cost: $125
TOOLS USED
Drill
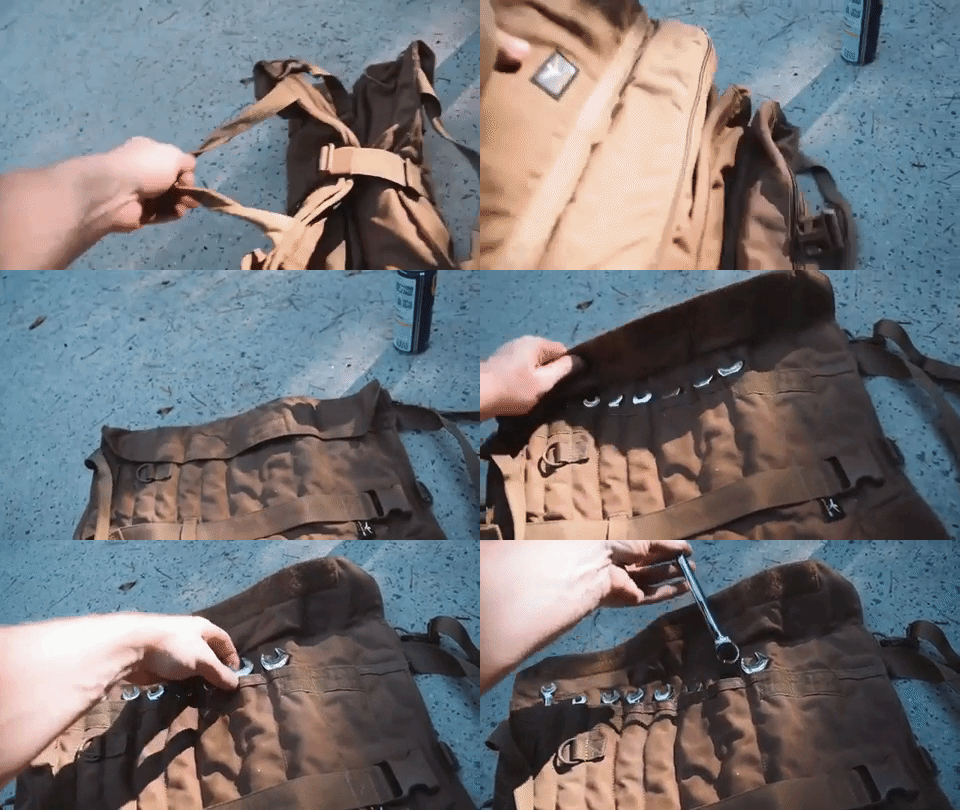
19mm and 14mm sockets / wrenches
Air socket is recommended for old rusted bolts
MATERIALS USED
Fixing a leaking leveling jack
We are about a week away from our first camp-out and I needed to fix the leveling jacks. There was 2 leaks, I fixed the first one by replacing the 23ft hydraulic hose but the 2nd one was leaking in the jack itself.
You really have 2 options here, order a new jack, anywhere from $500-$900 or attempt to replace the seals for $125. I chose the latter of course.
Removing it wasn’t too hard, just tough to break the bolt loose, I used a LOT of WD-40 lol. If you have time, I would let it soak because that took me forever. On top of that, you’re working in a pretty cramped and tight place.
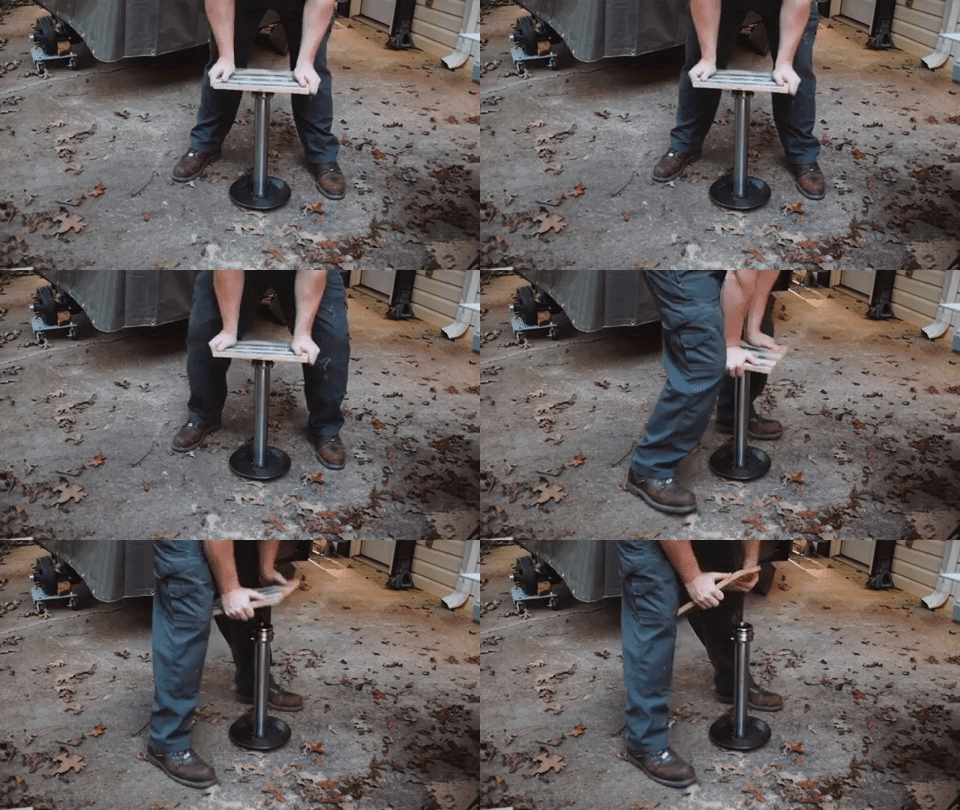
After I was able to remove it, I clamped the jack down to a table to remove the existing seal. This was best removed with a chain clamp that I got from harbor freight. Once removed, its all about keeping it clean and replacing all the seals. Download the Powergear instructions here.
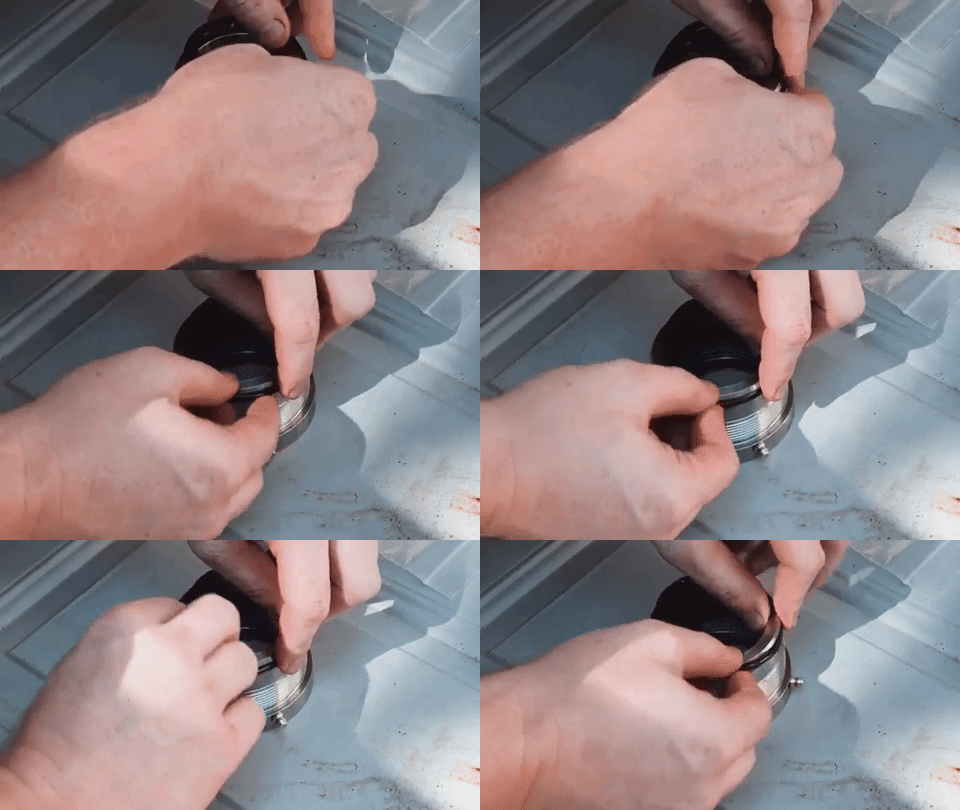
This is where the directions became unclear. I added the wiper seal for the grease trap area and had no clue I was doing it wrong! Learn from my mistake and make sure you add it to the outside most groove and not the 2nd one in. This cost me 9 days of headache.
Luckily PDX came through and sent me a new seal and we could carry on.
After that was replace and put back together I used a floor jack to line up the holes to put the jack back on the RV. This was super helpful and when I went to add the bolts, it was so tight, I couldn’t get my hands in there. I decided to flip the bolts around so the nuts were facing outward. I don’t how this would change anything structurally so I am ok with that.
Finally, we get to test it! I have had it fully extended for 2 days now and it’s bone dry! Success!
Zach's pro tip
Use a floor jack to take the weight off of the jack when you remove and install the jack. Also don’t hesitate to flip the bolts around if you need to when you re-install. Oh, and don’t break that seal… like I did.


