
Making a full-size Aquaman Trident
Total time: 8hrs
Cost: Free ~ $200
Difficulty: Novice
Full size Trident
So a while back I made a small 18in tall Aquaman Trident out of some cherry wood. But then it made me wonder.. what would it take to go full size?

So this project breaks down to 4 pieces. The Trident top / fork, which I made in 2 halves. The bottom / handle and the pole. The pole is just a 1in wooden dowel so the fun part is the rest.
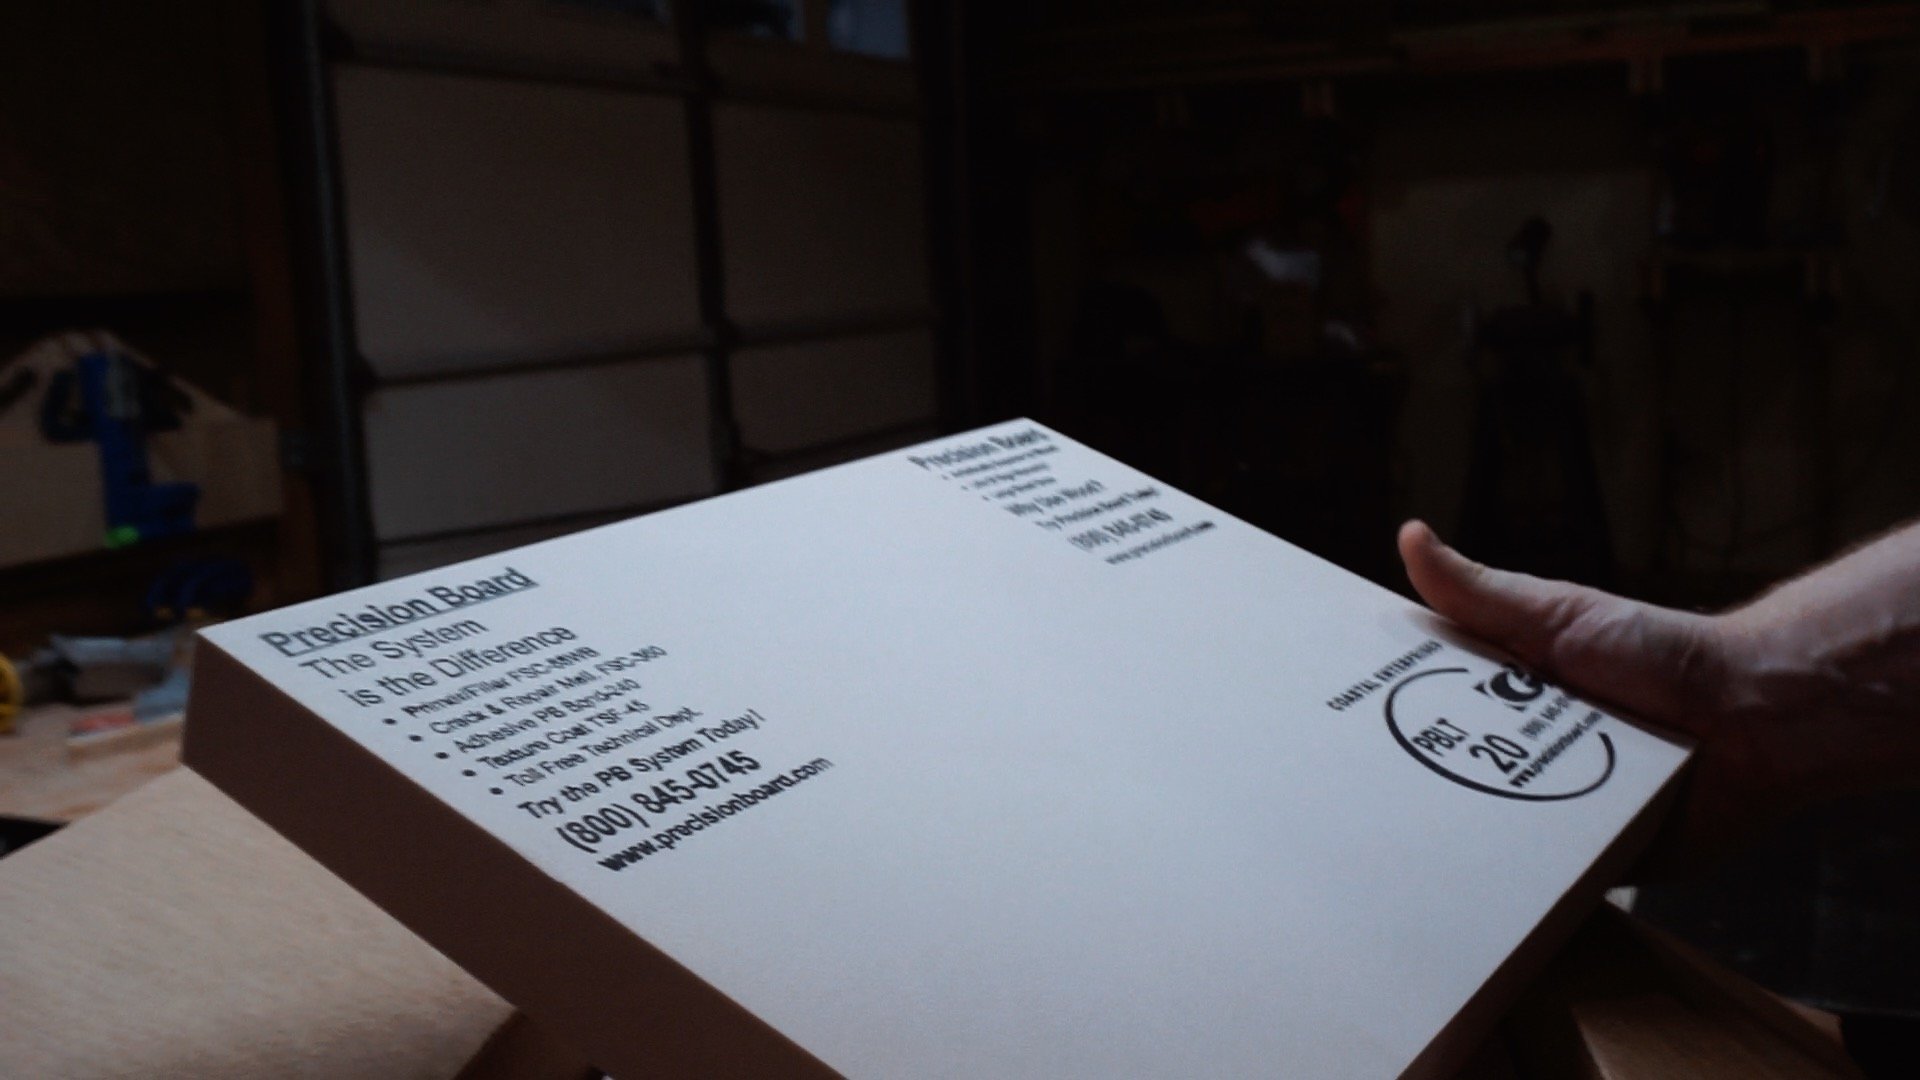
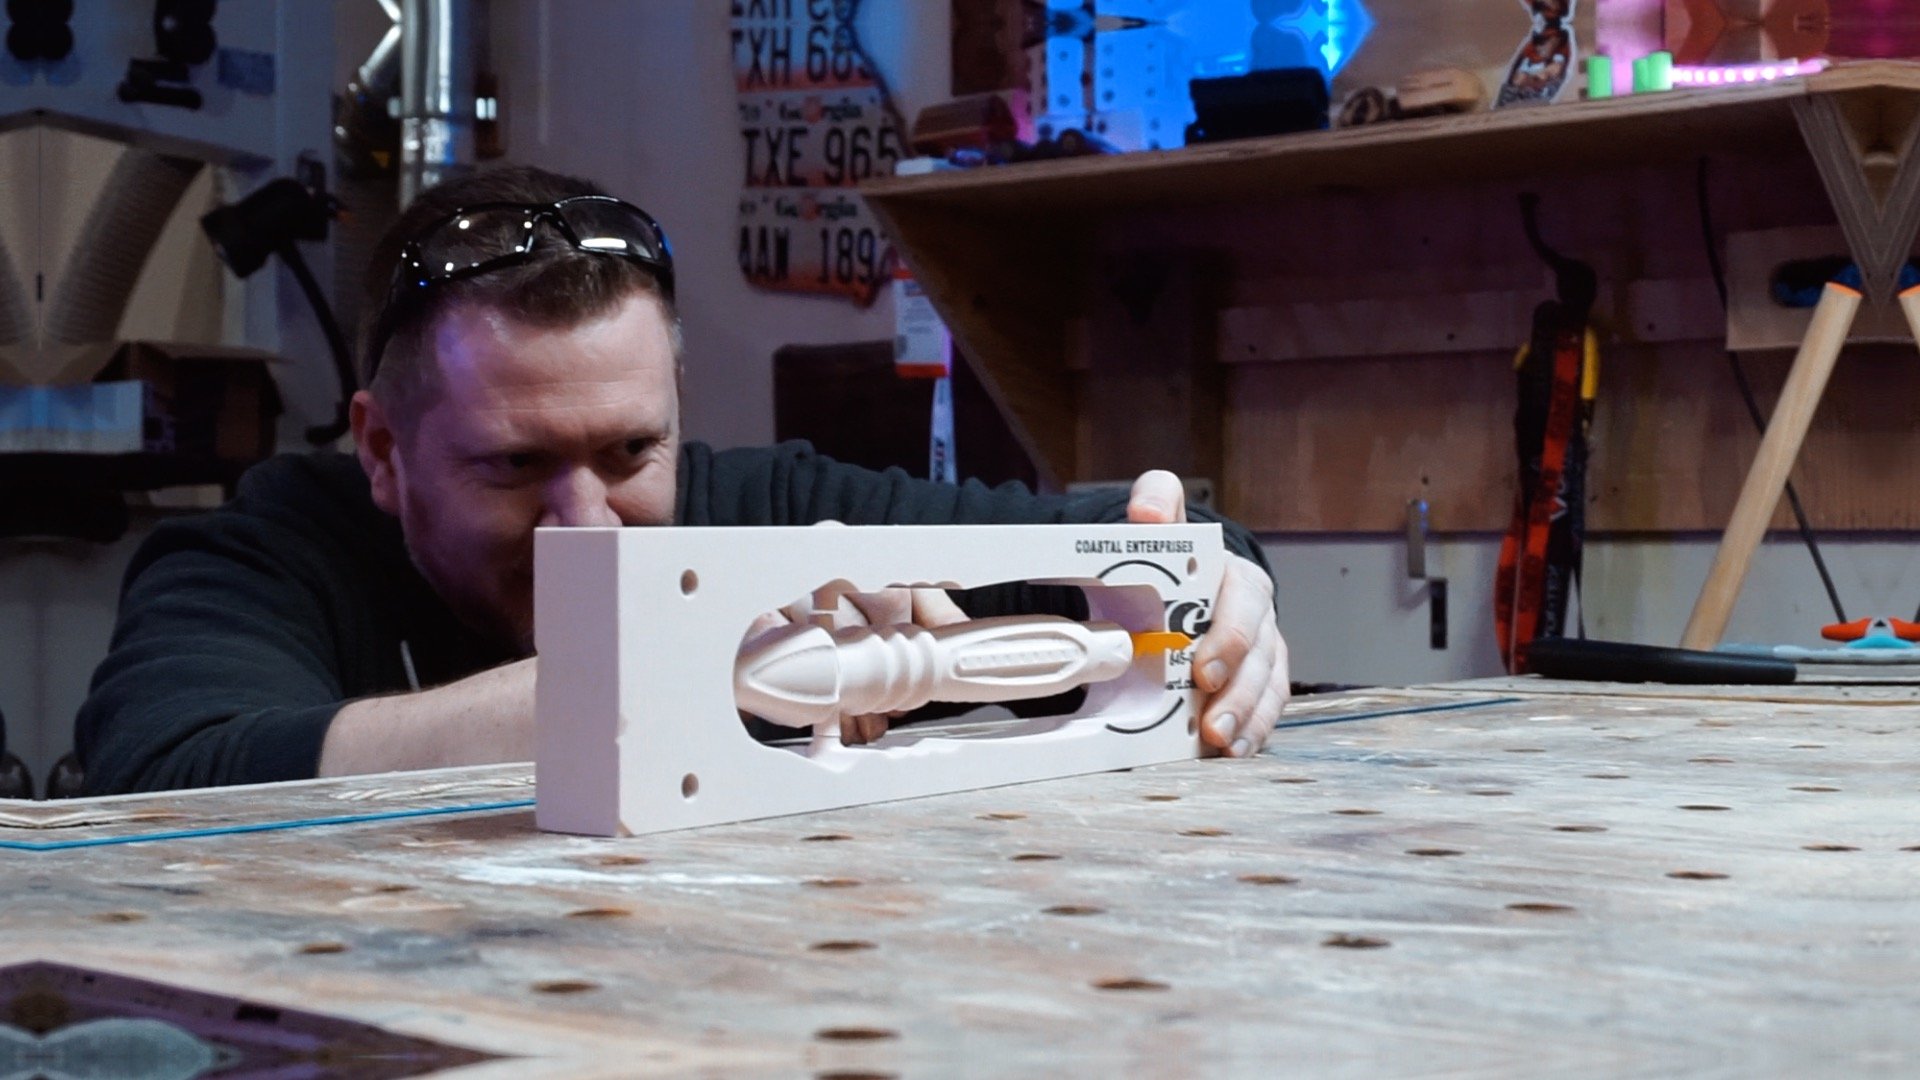
I knew if I made this out of wood that it would be too heavy so I wanted to use some kind of foam board. This is when I reached out the Precision Board for some samples.
To be fair, this is not a cheaper alternative but a better solution if you are concerned about the weight.
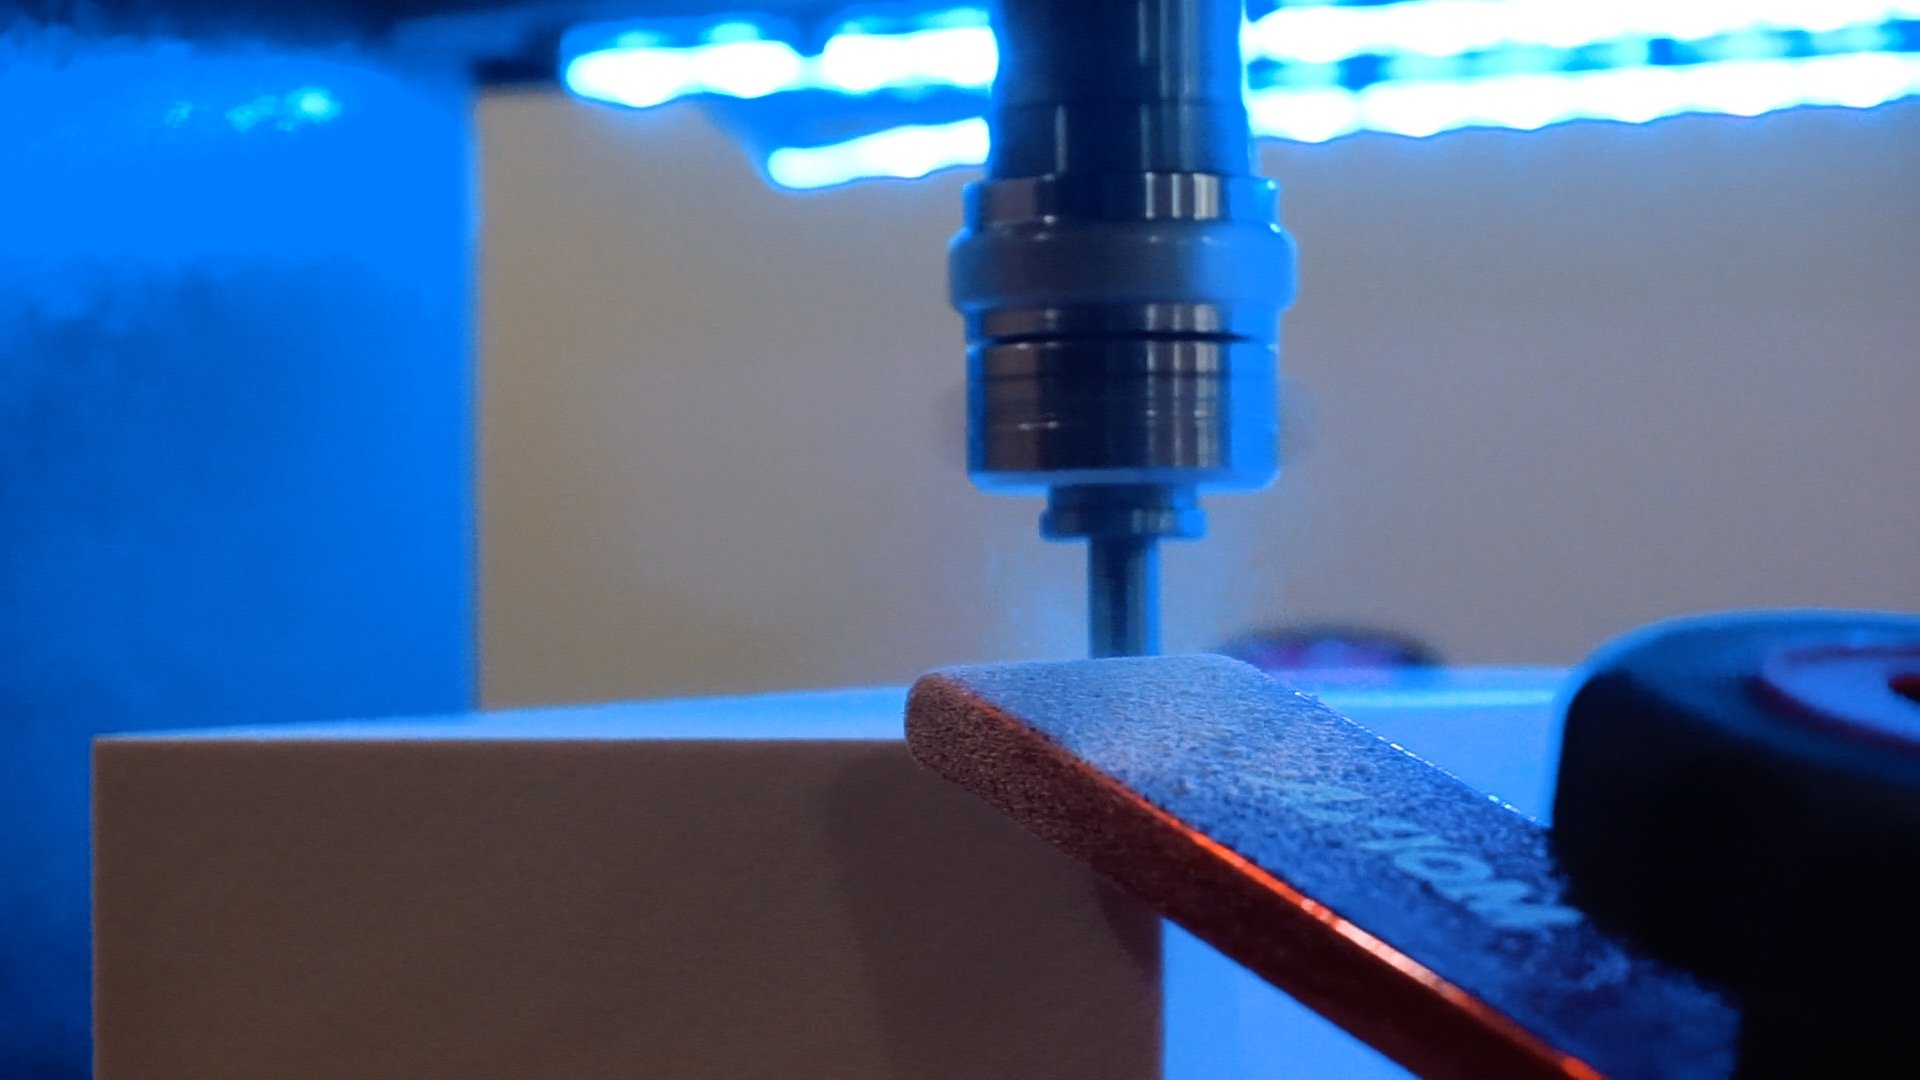
It cuts, sands and mills beautifully and was perfect for this project.
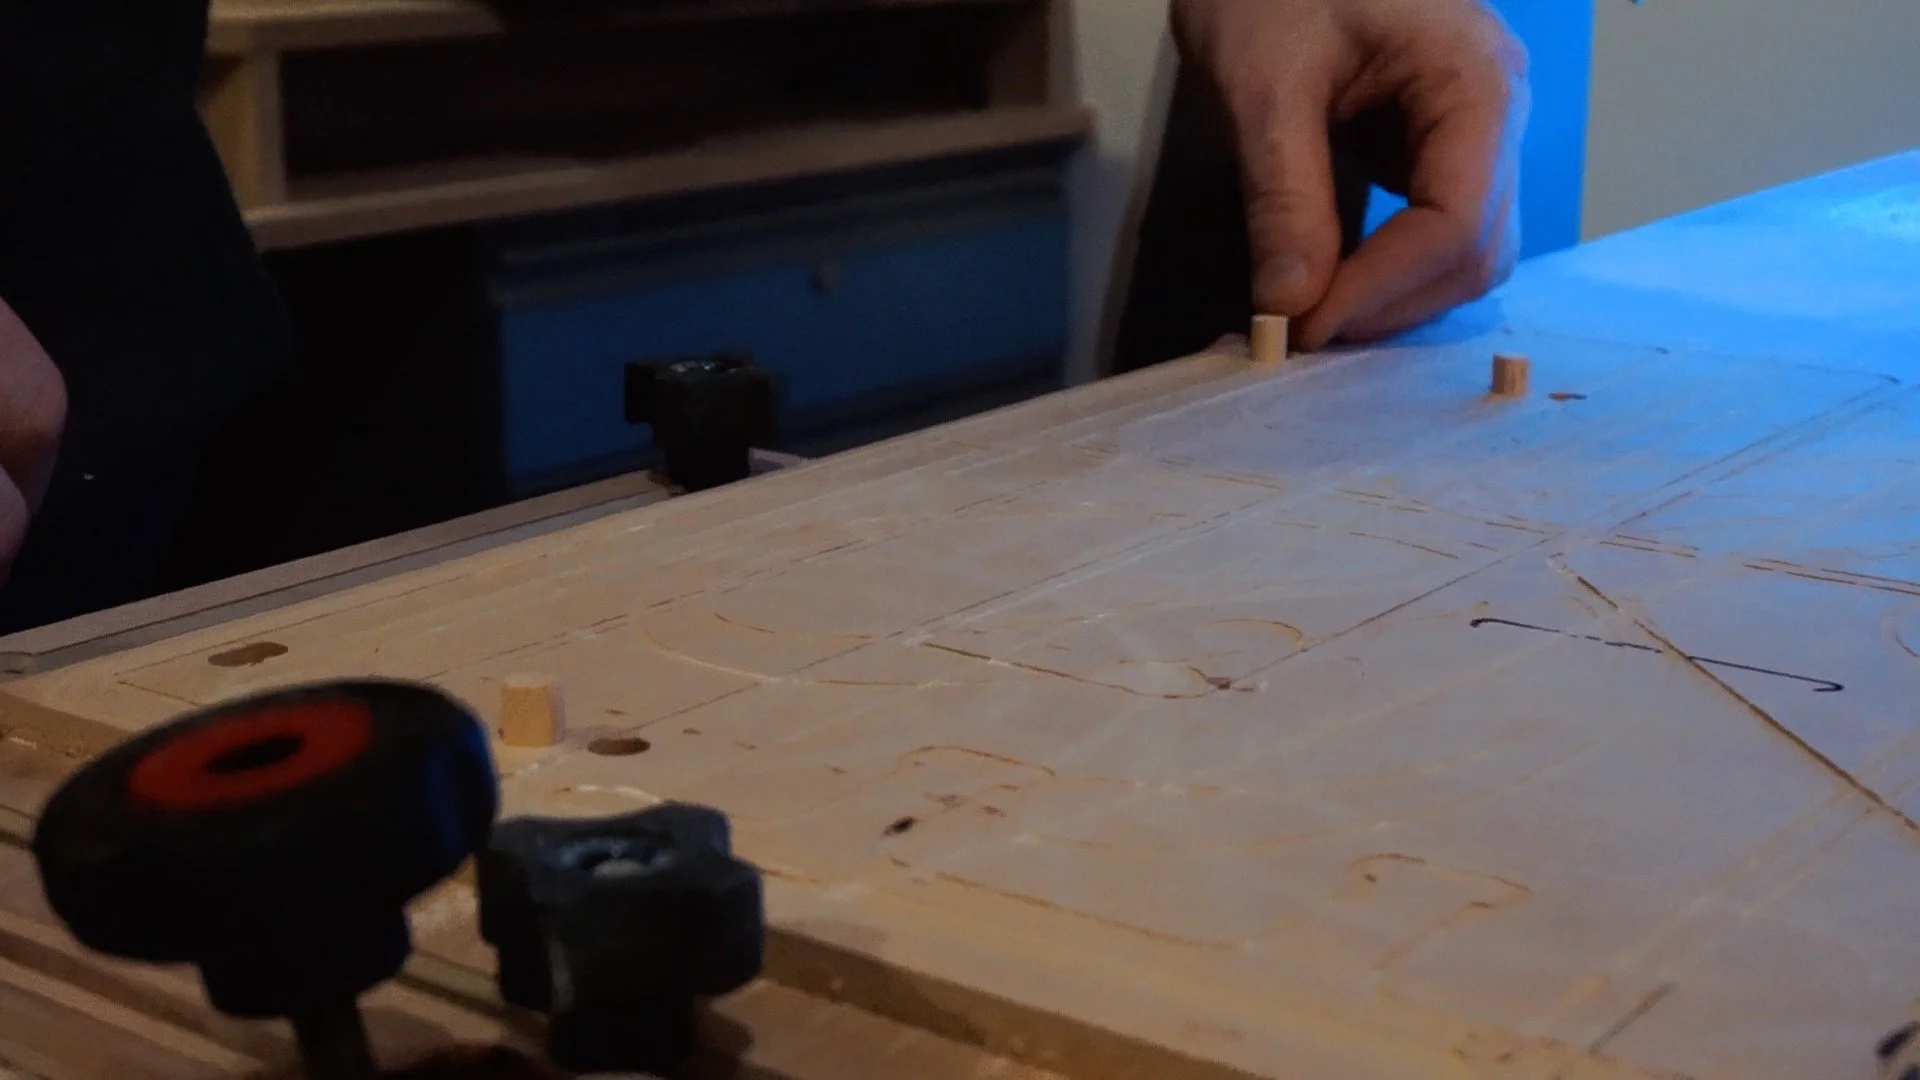
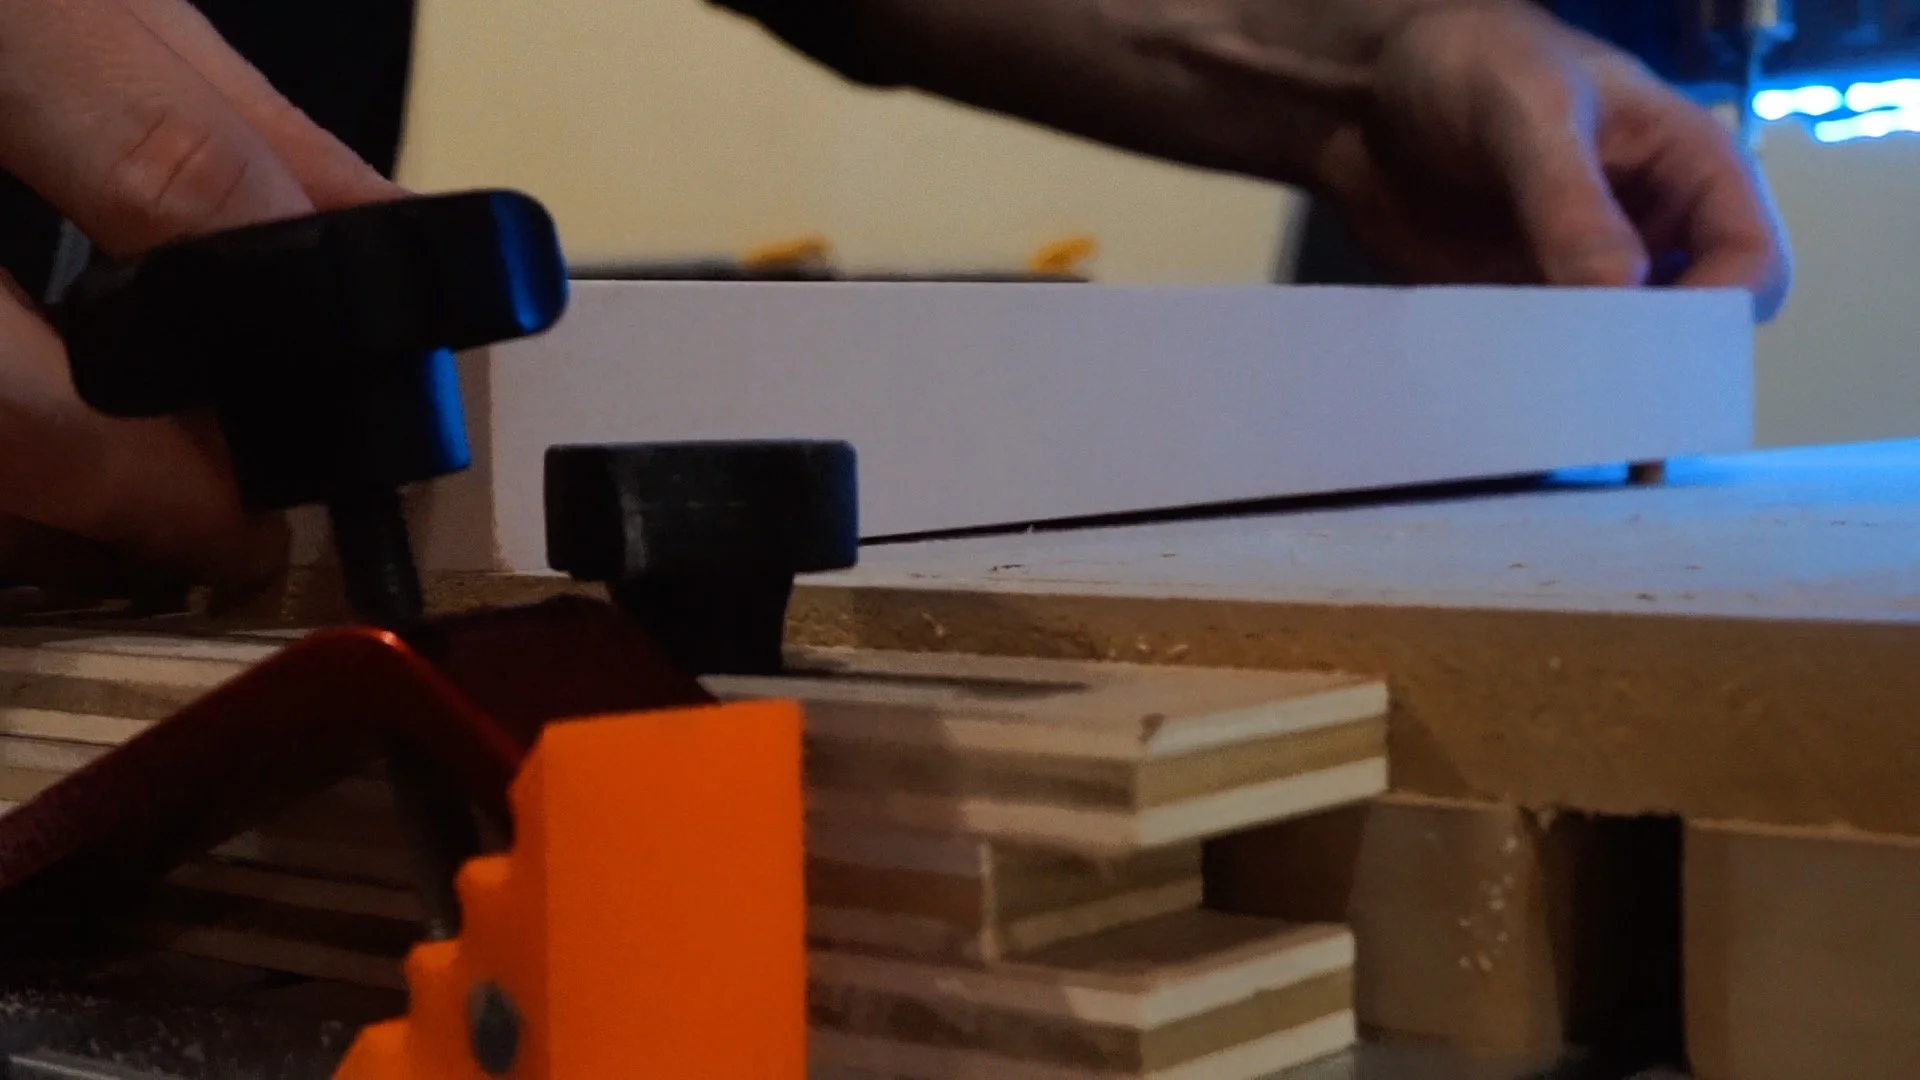
This process is the same for all 3 CNC’ed sections. Yes I had to use a CNC. Starting with a 1/4in endmill I created some 3/8in alignment holes for dowels. This is what I will use to register the two halves. The main thing here is that the pins are centered around your design. (I made that mistake before)
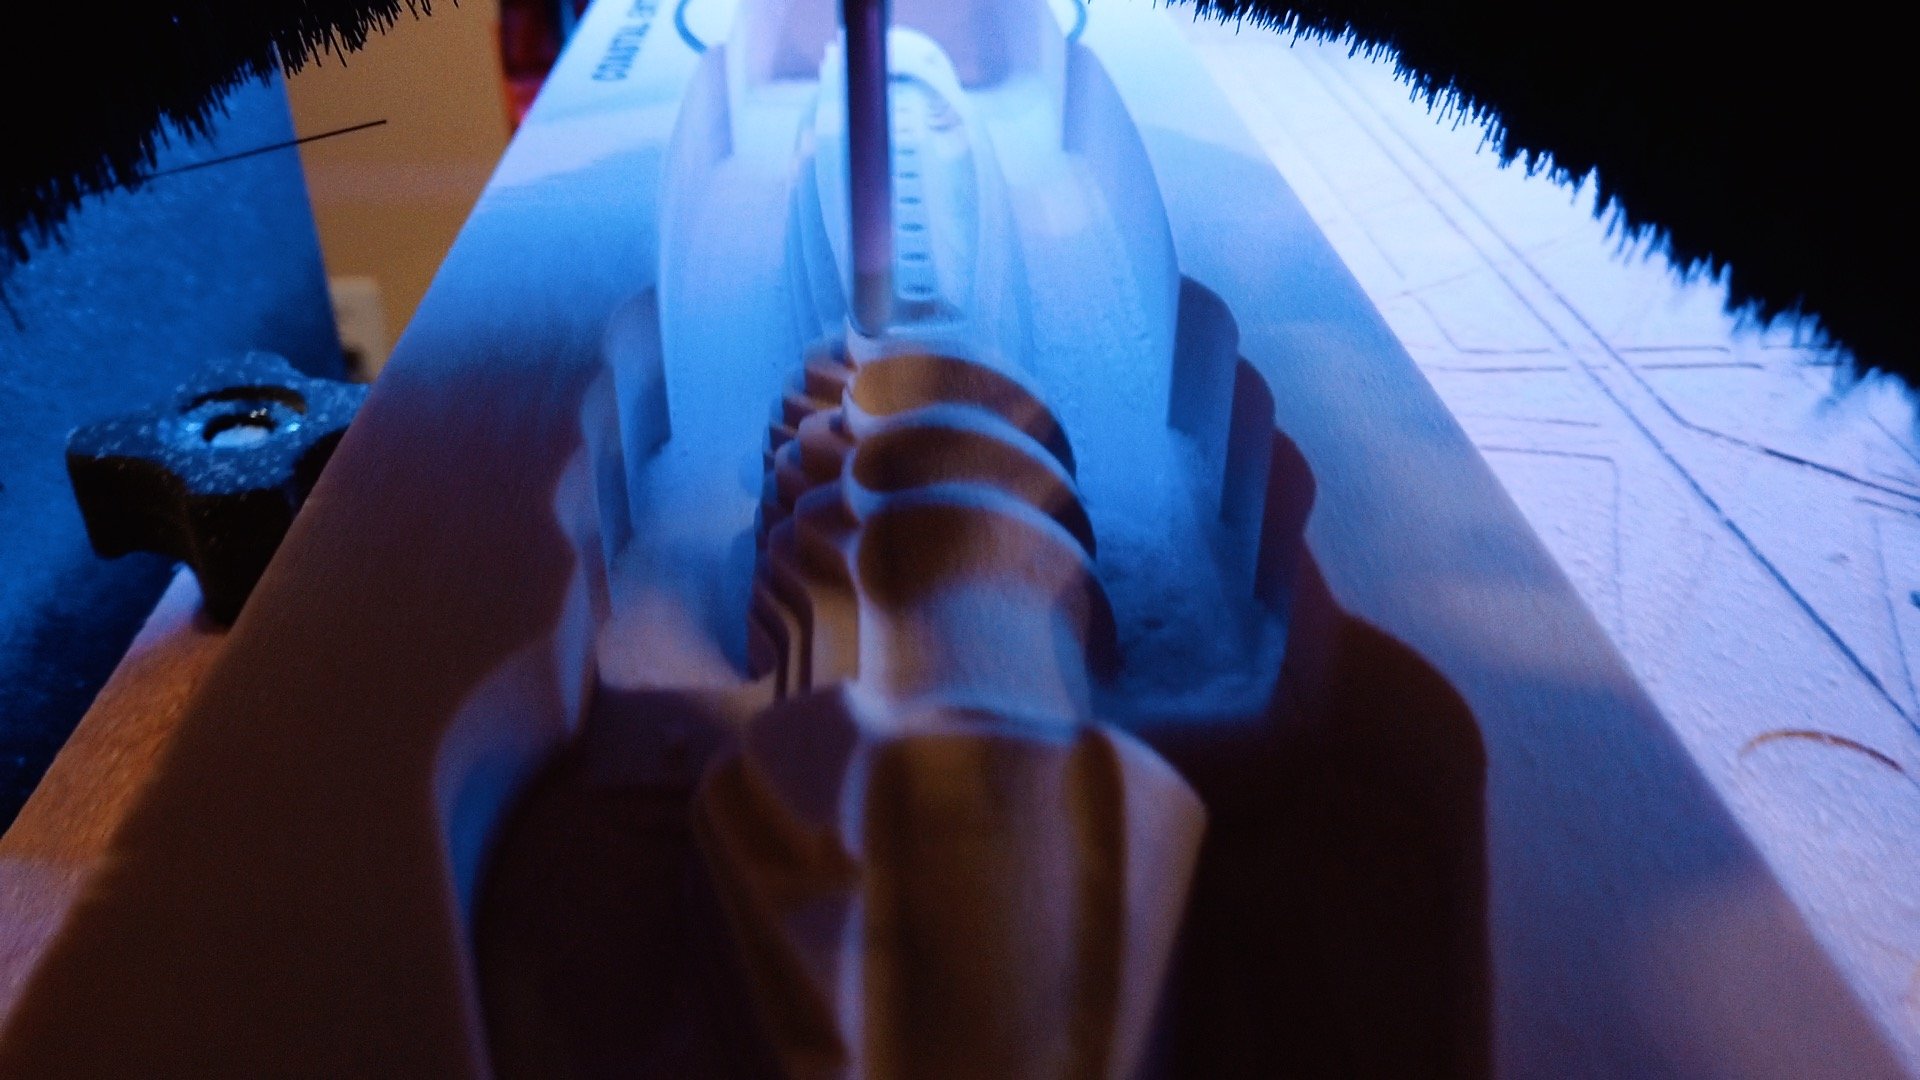
After I ran the rough and finishing passes on side one, I flipped the piece, clamped it and crossed my fingers! Oh, I think I forgot to mention, this was my first attempt at doing something like this.. lol.
Looks like it went well, took about an hour to cut both sides and I am totally happy with it!
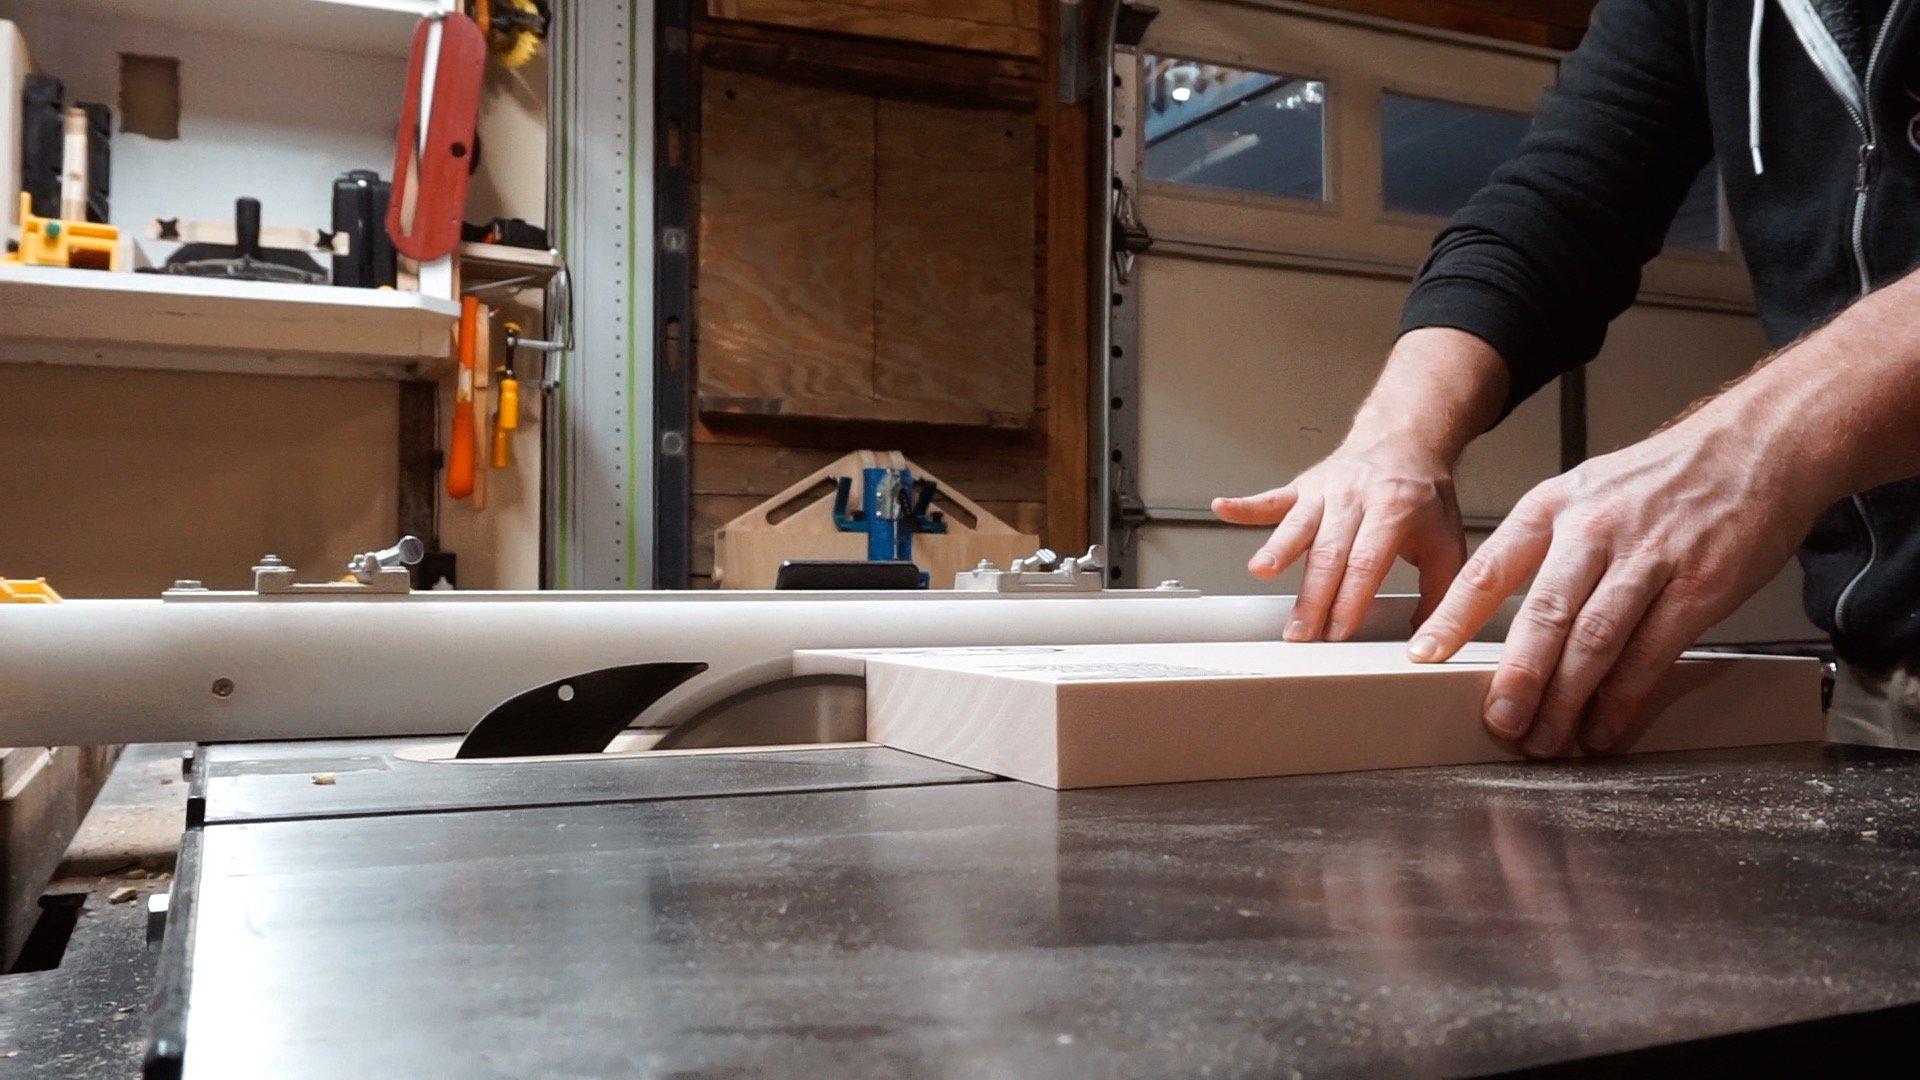
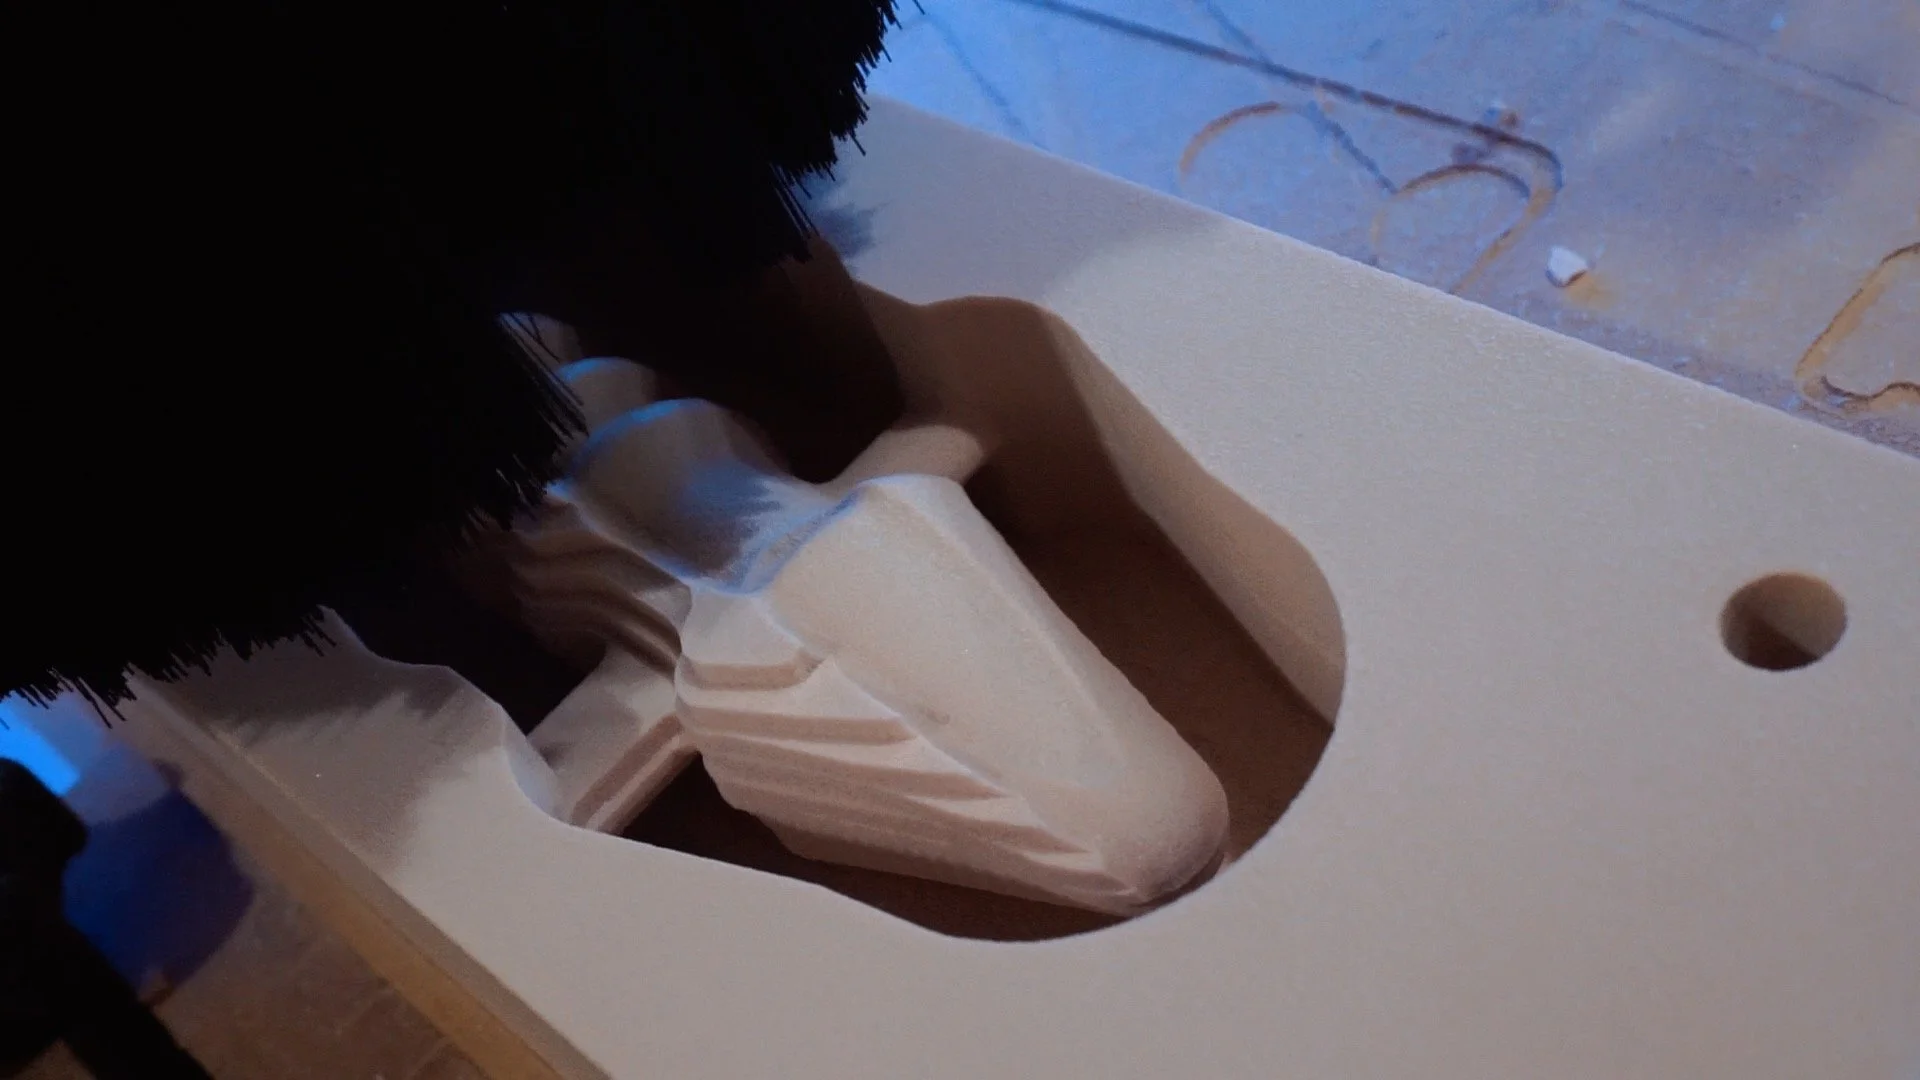
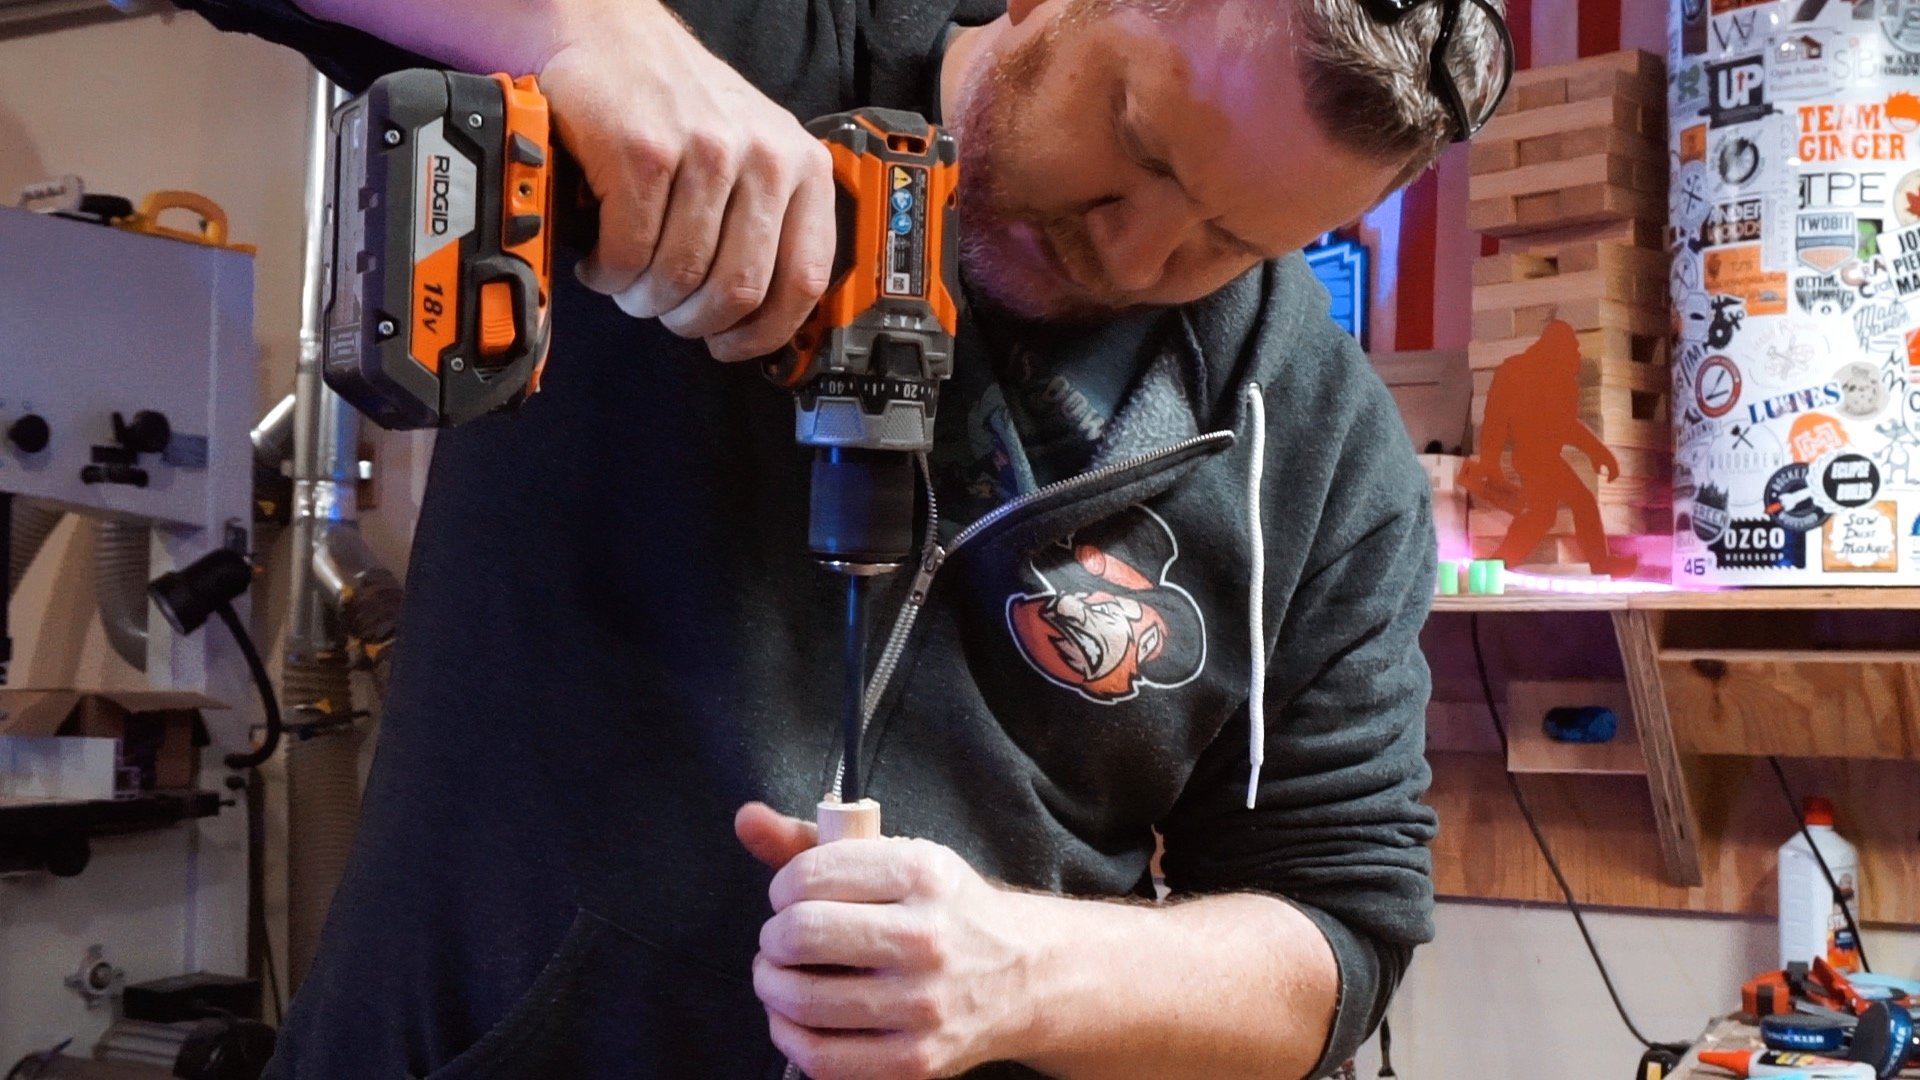
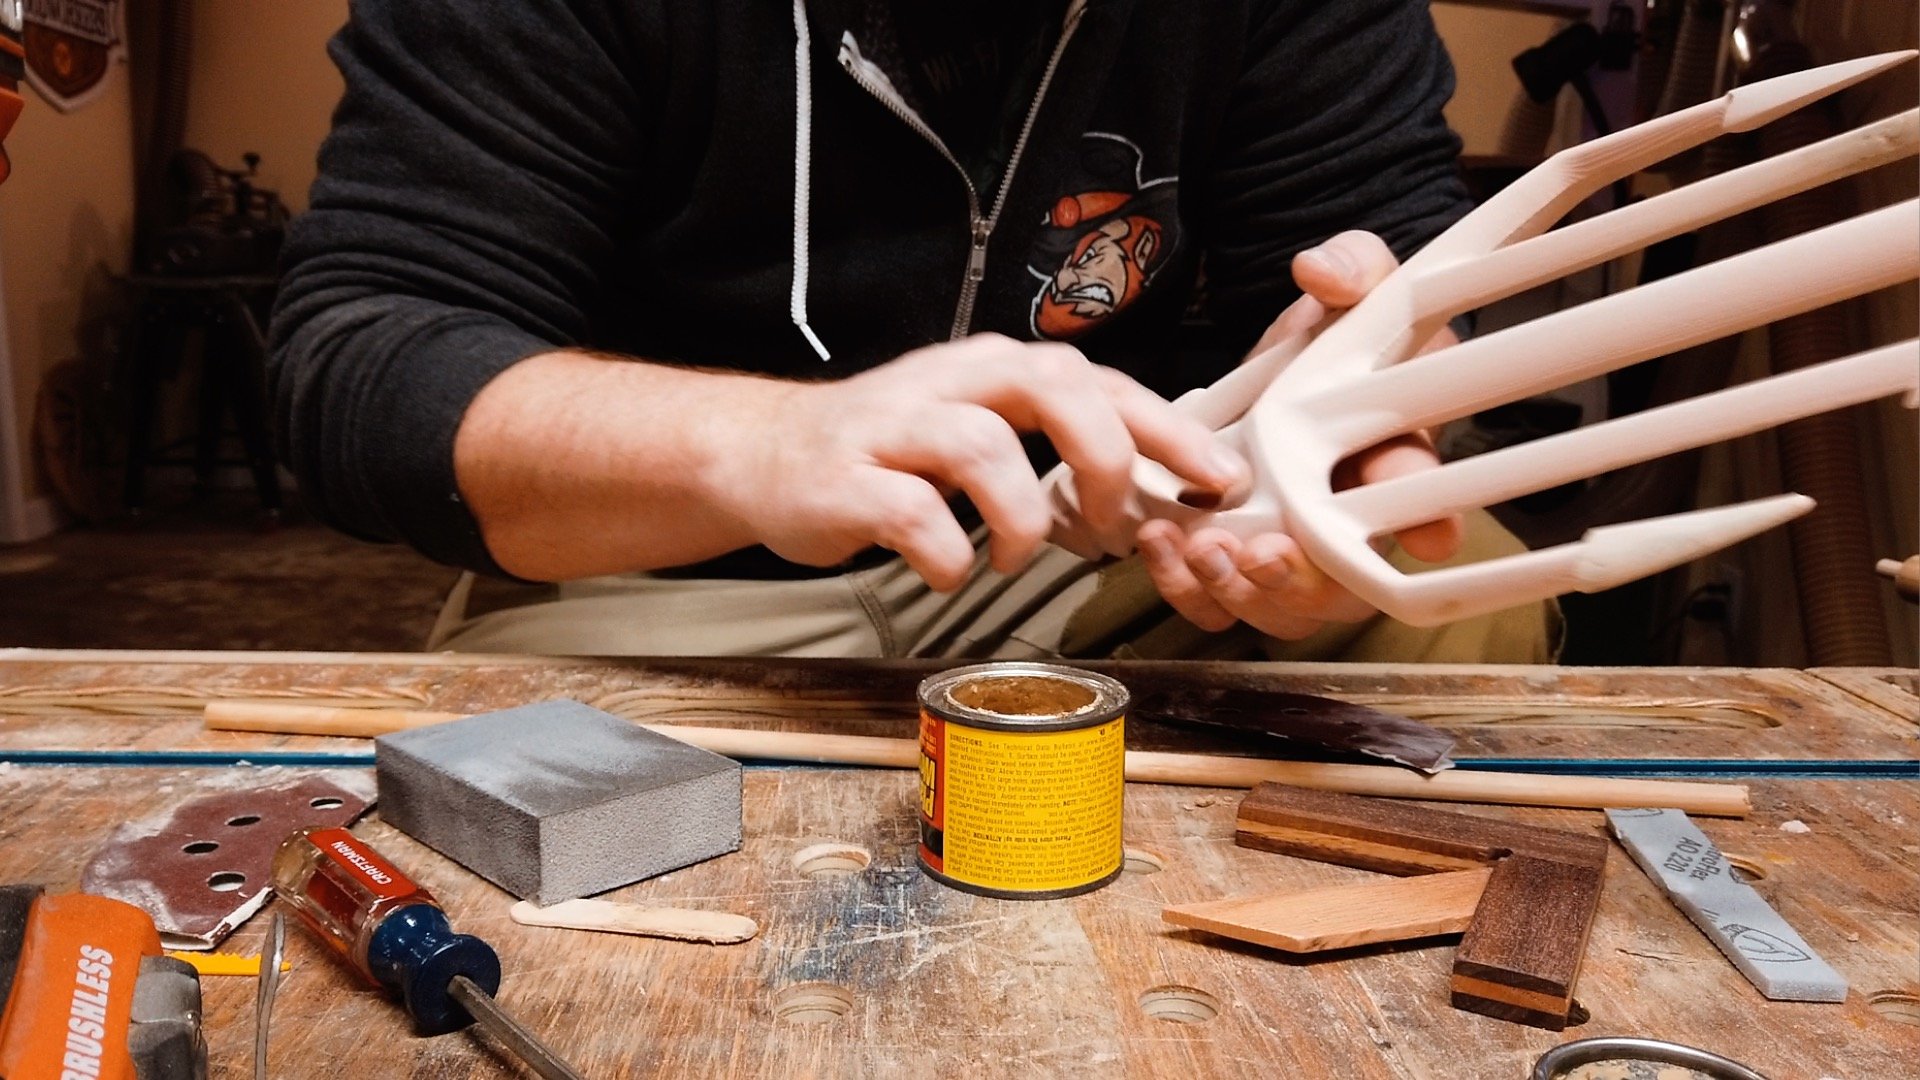
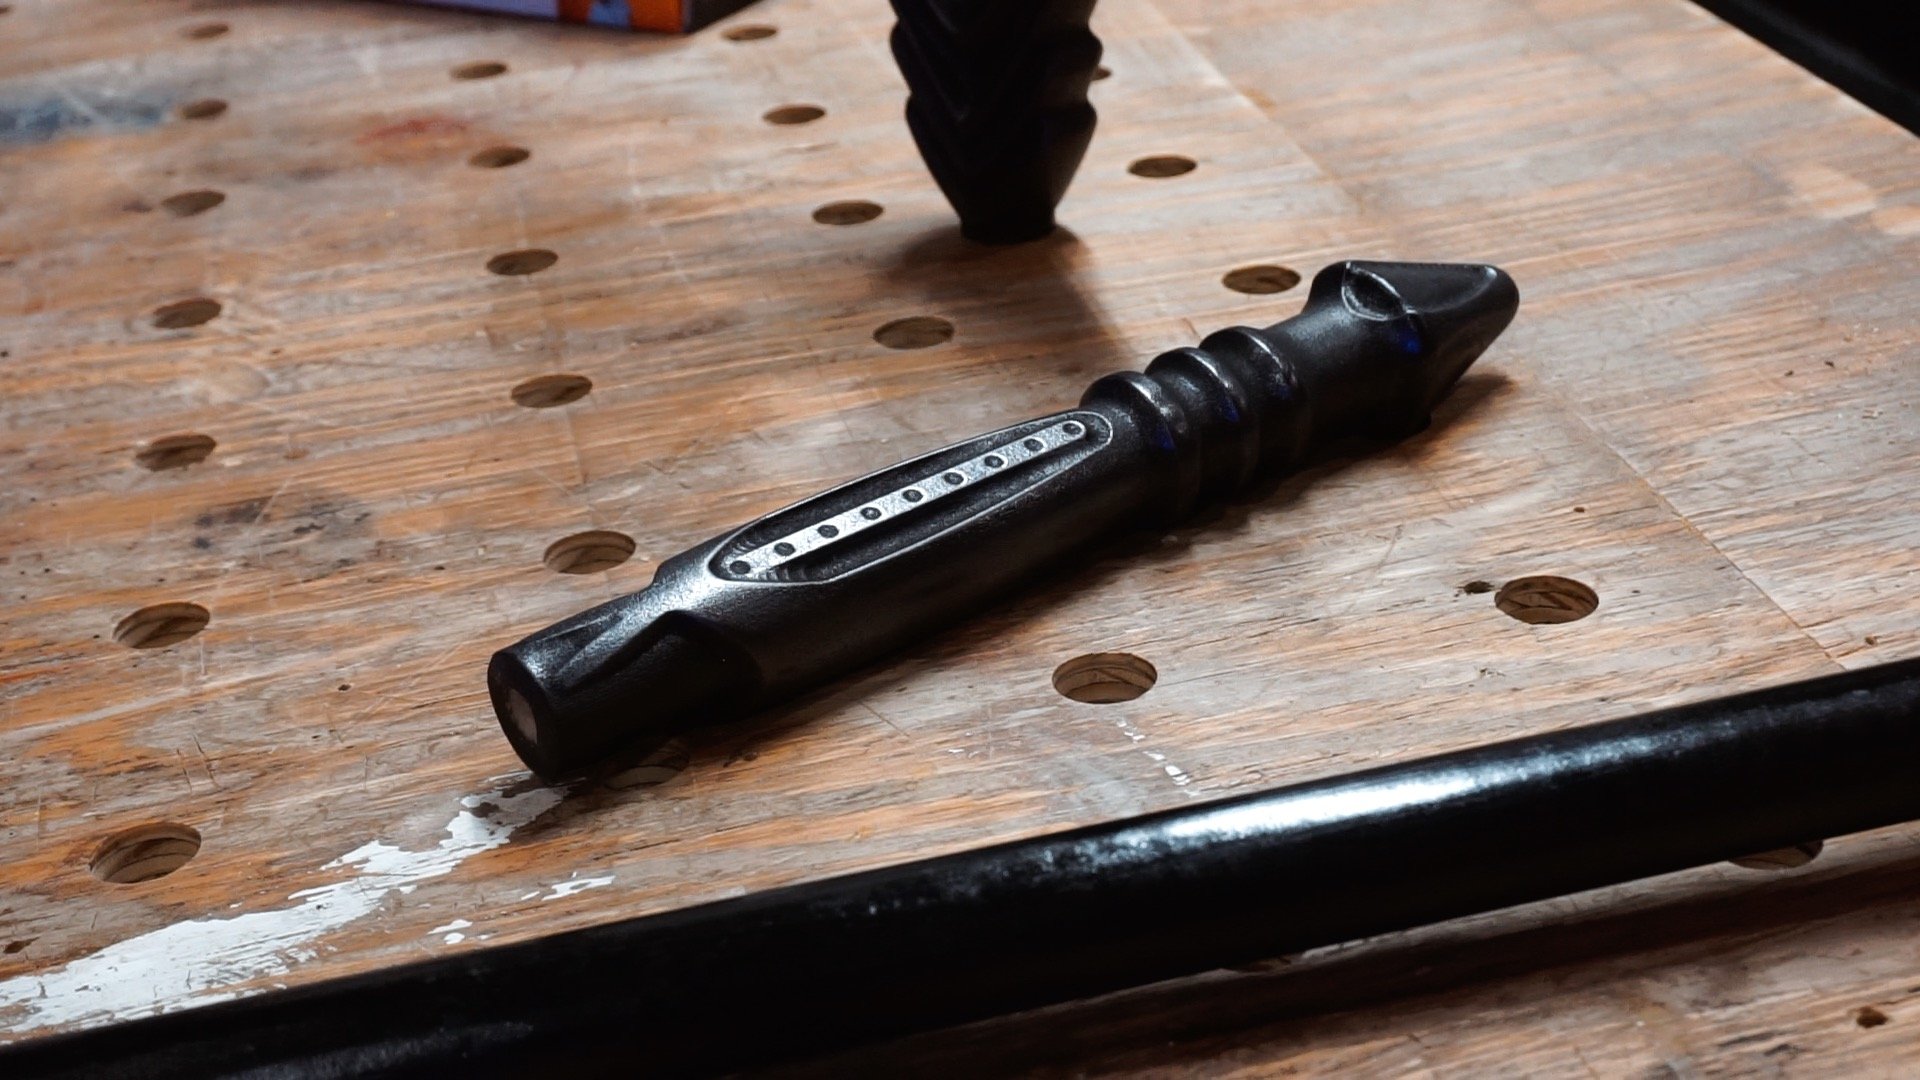
After it's cut out using anything you got, this stuff cuts nice! I sanding it down to 220 grit and test fit it on a 3/8in down that I centered on both the center pole (1in dowel) and the handle.
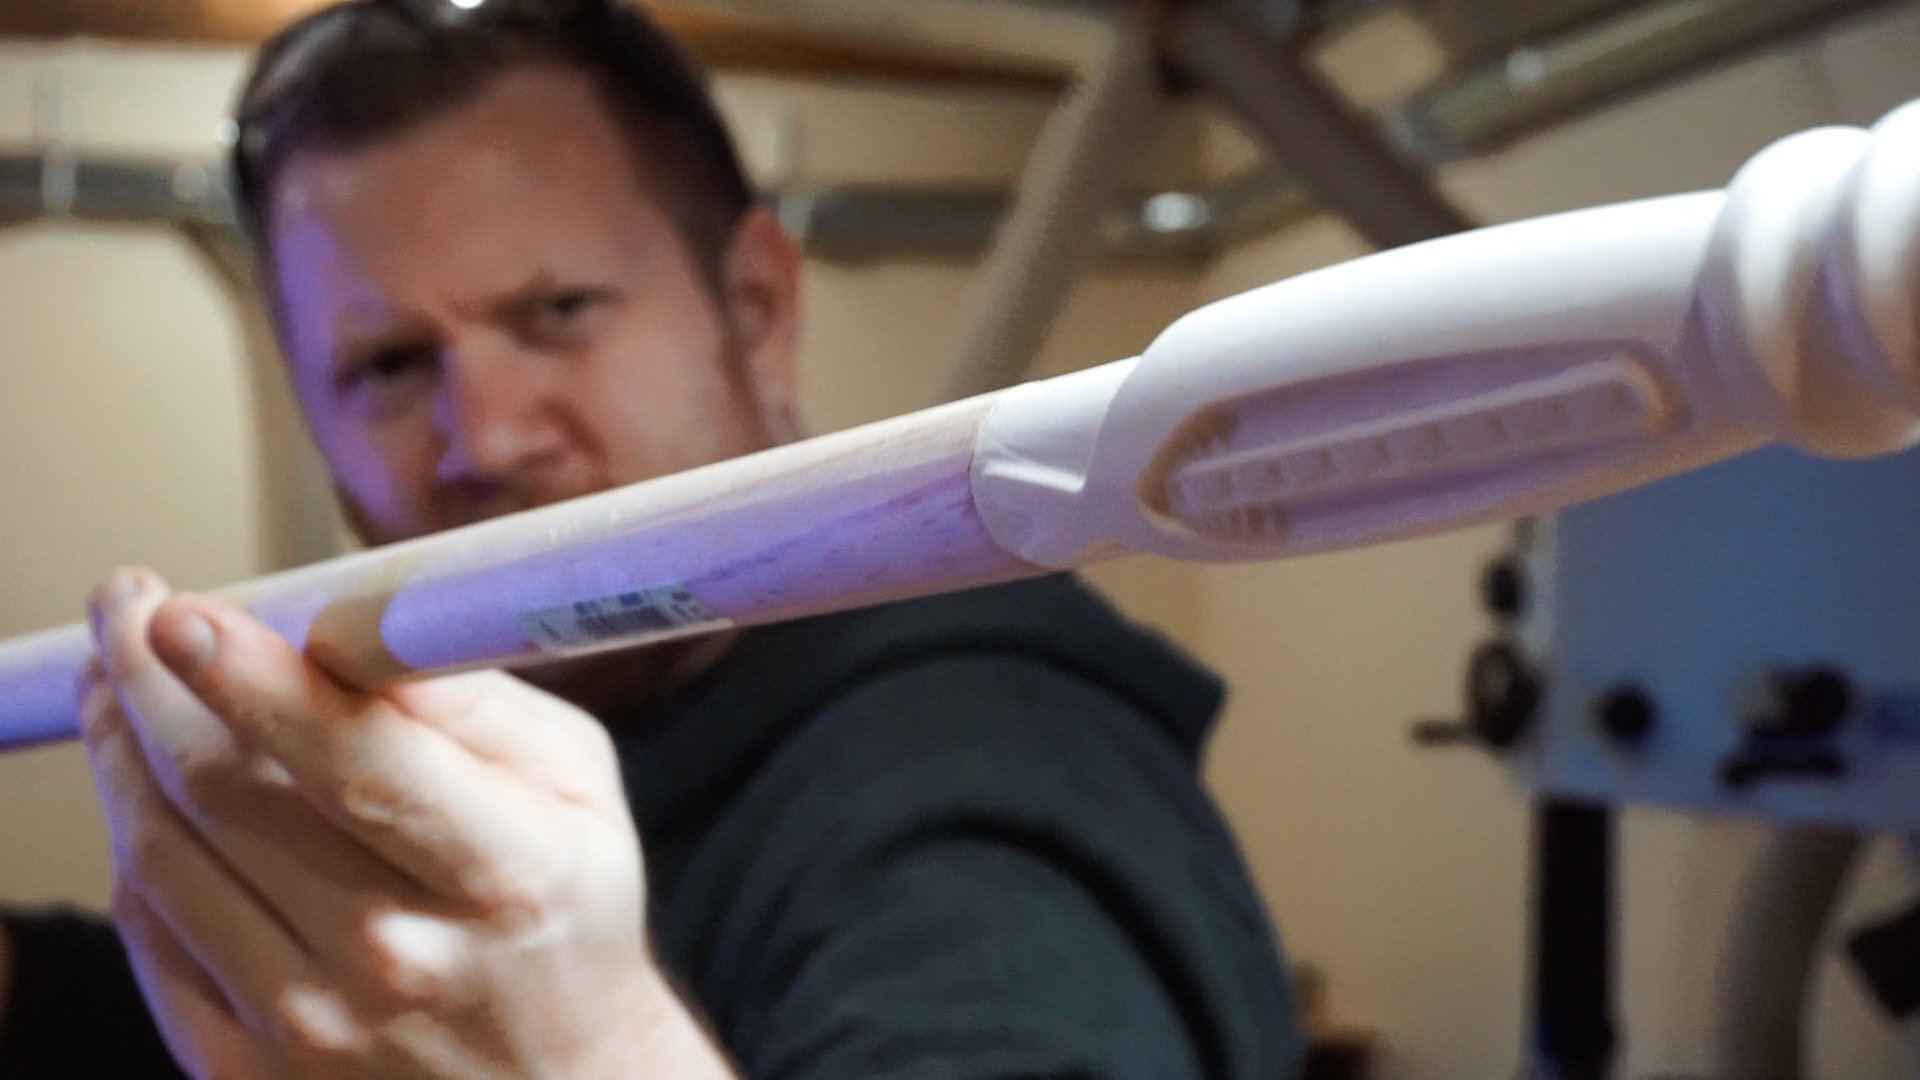
Like I mentioned before, I had to break the Trident into 2 pieces, this is because the samples weren't quite big enough. Luckily the guy I purchased the 3d design from made the modification for me so I could use it in v-carve.
None the less, I sanded this to 220 and got it ready to be glued to the top half.
This was a gut-wrenching part of this build. After almost 4hrs of machine time, one of the forks BROKE!
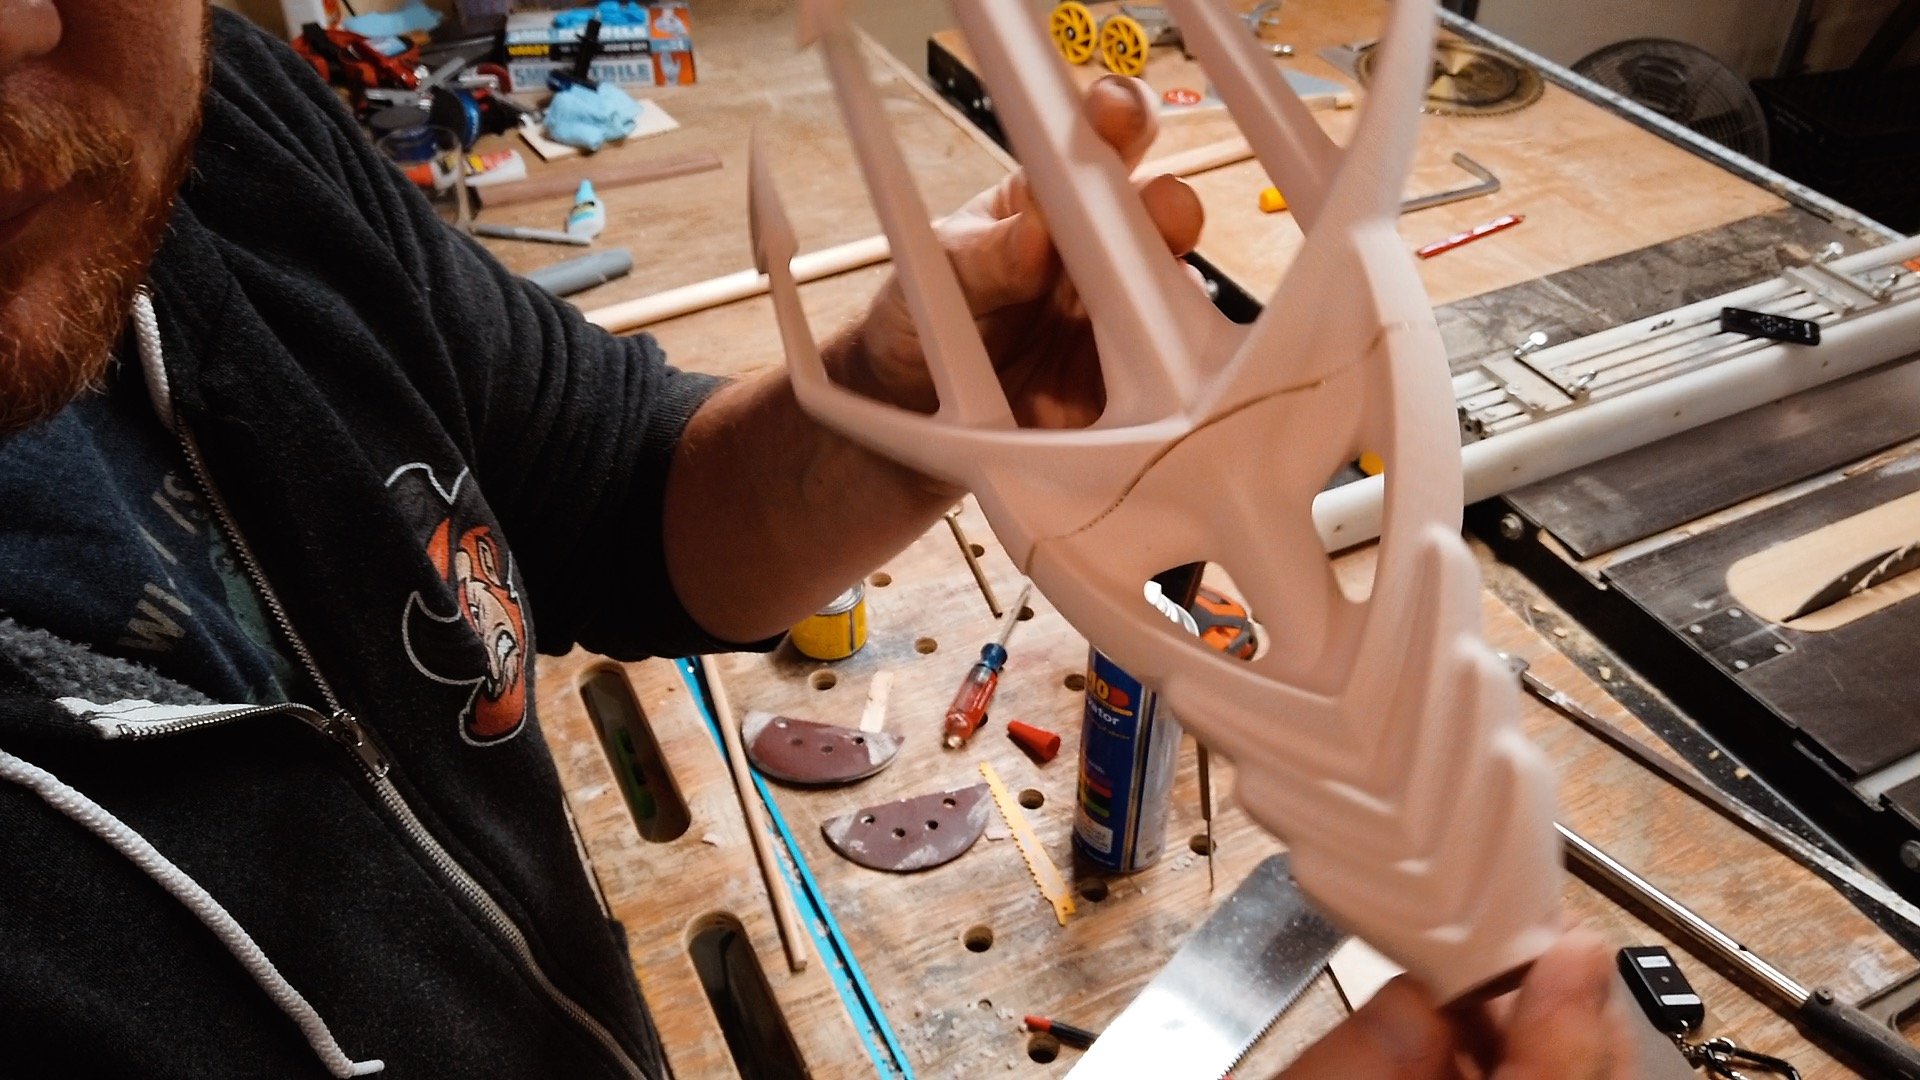
After some thinking, I used super glue to mend it and wood putty to fill it all back up.. can't even tell!
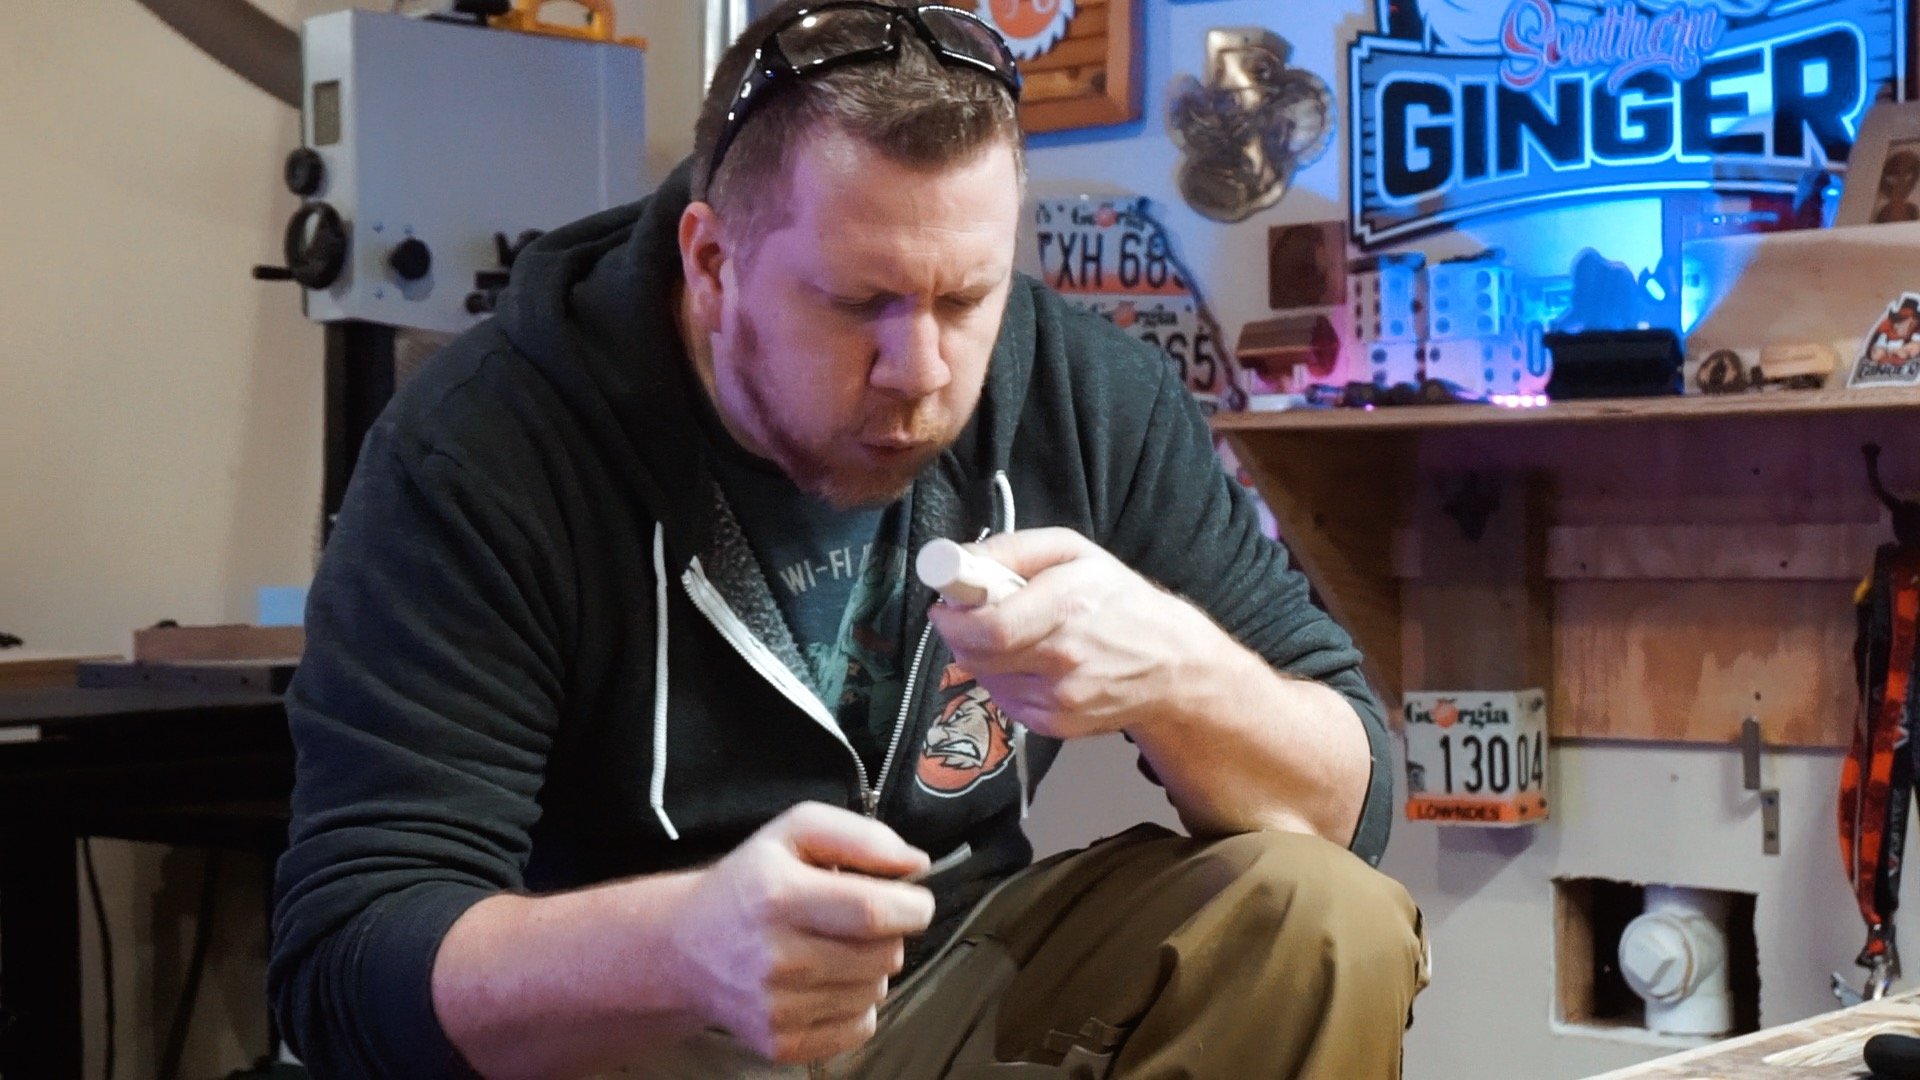
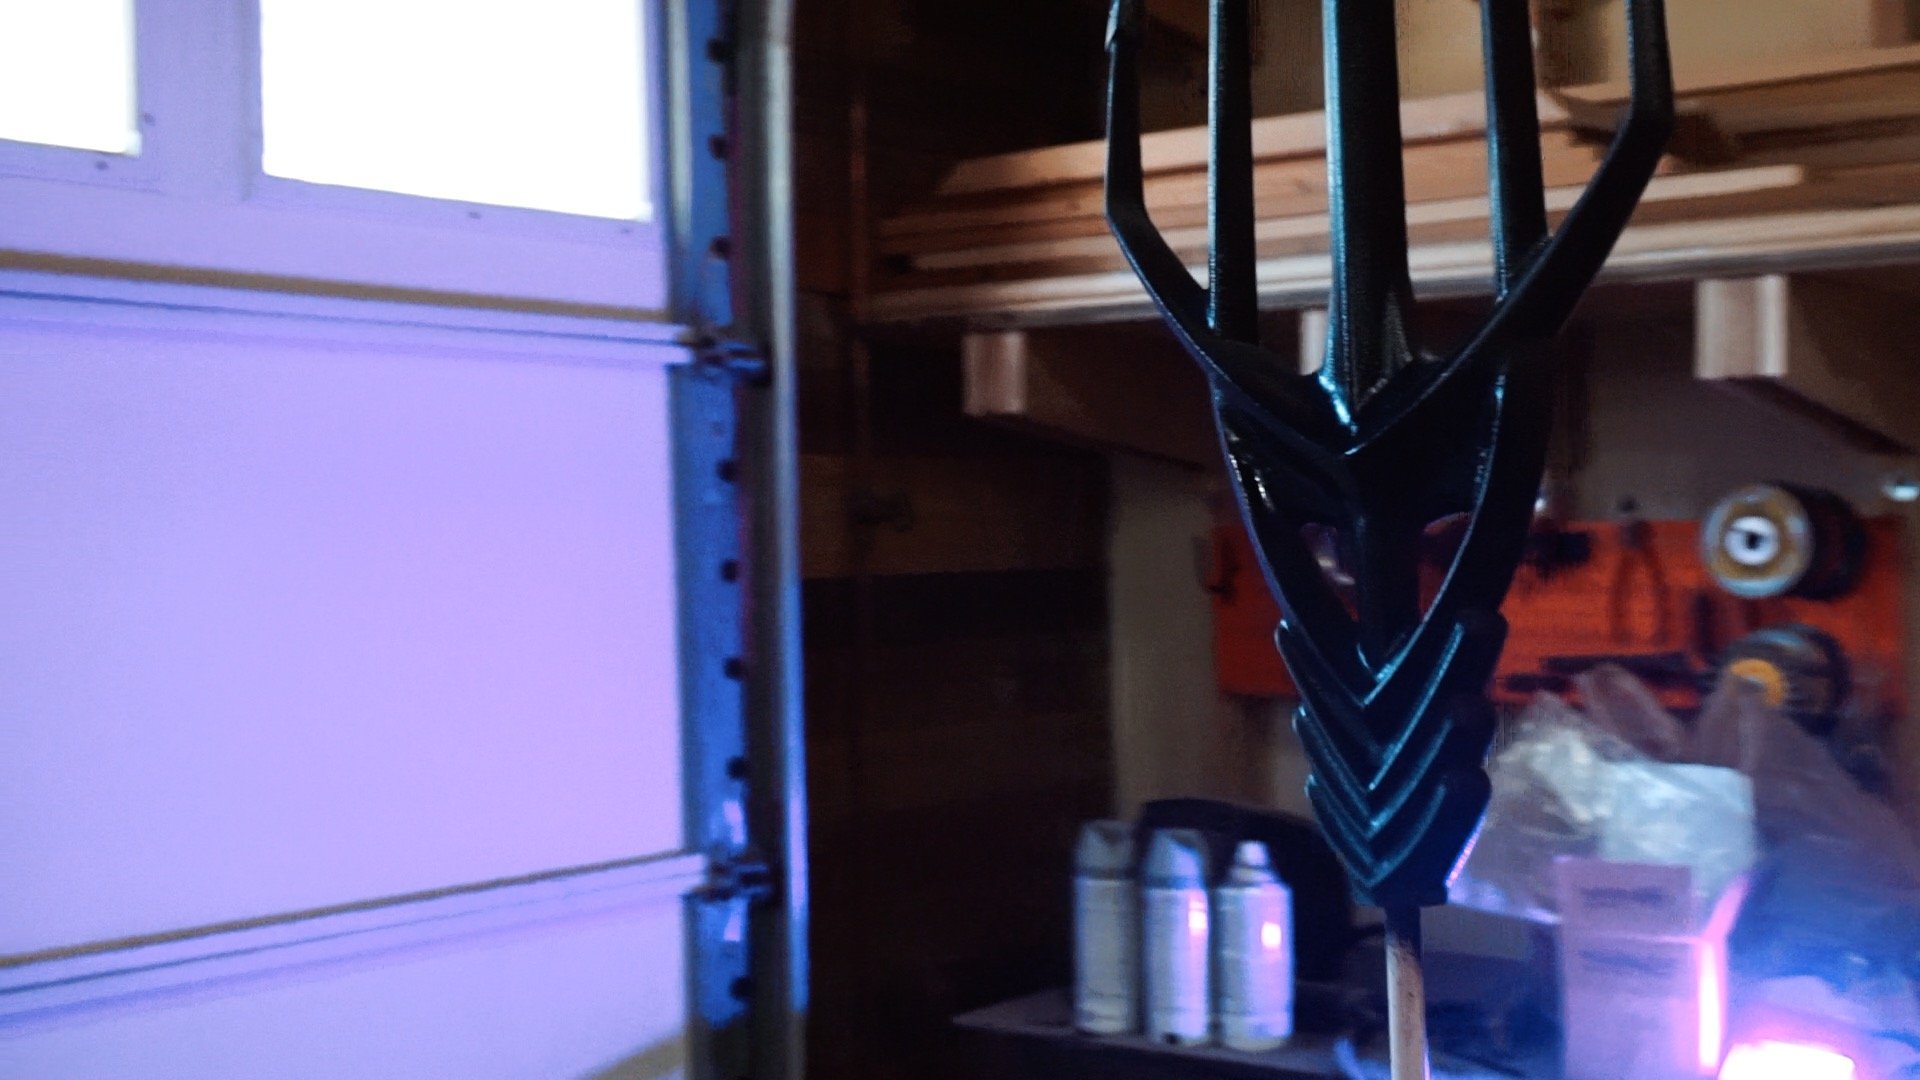
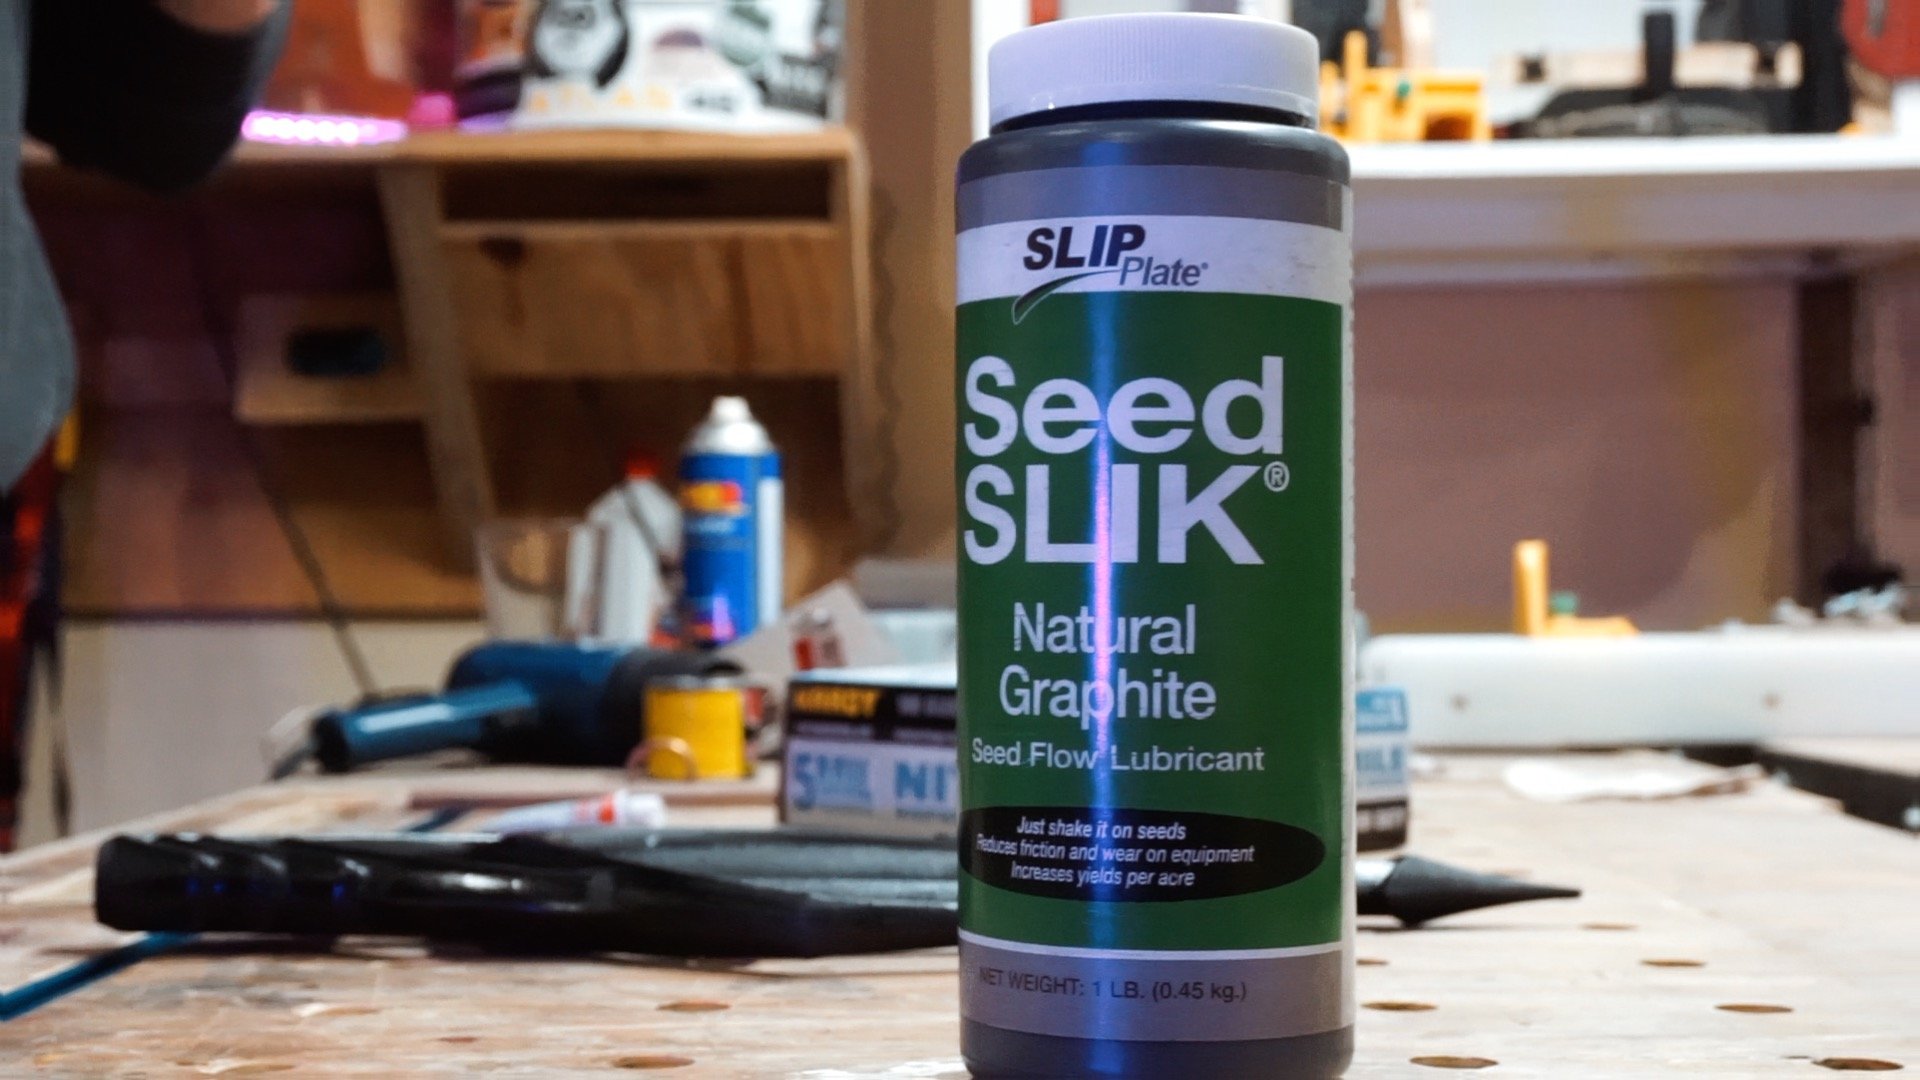
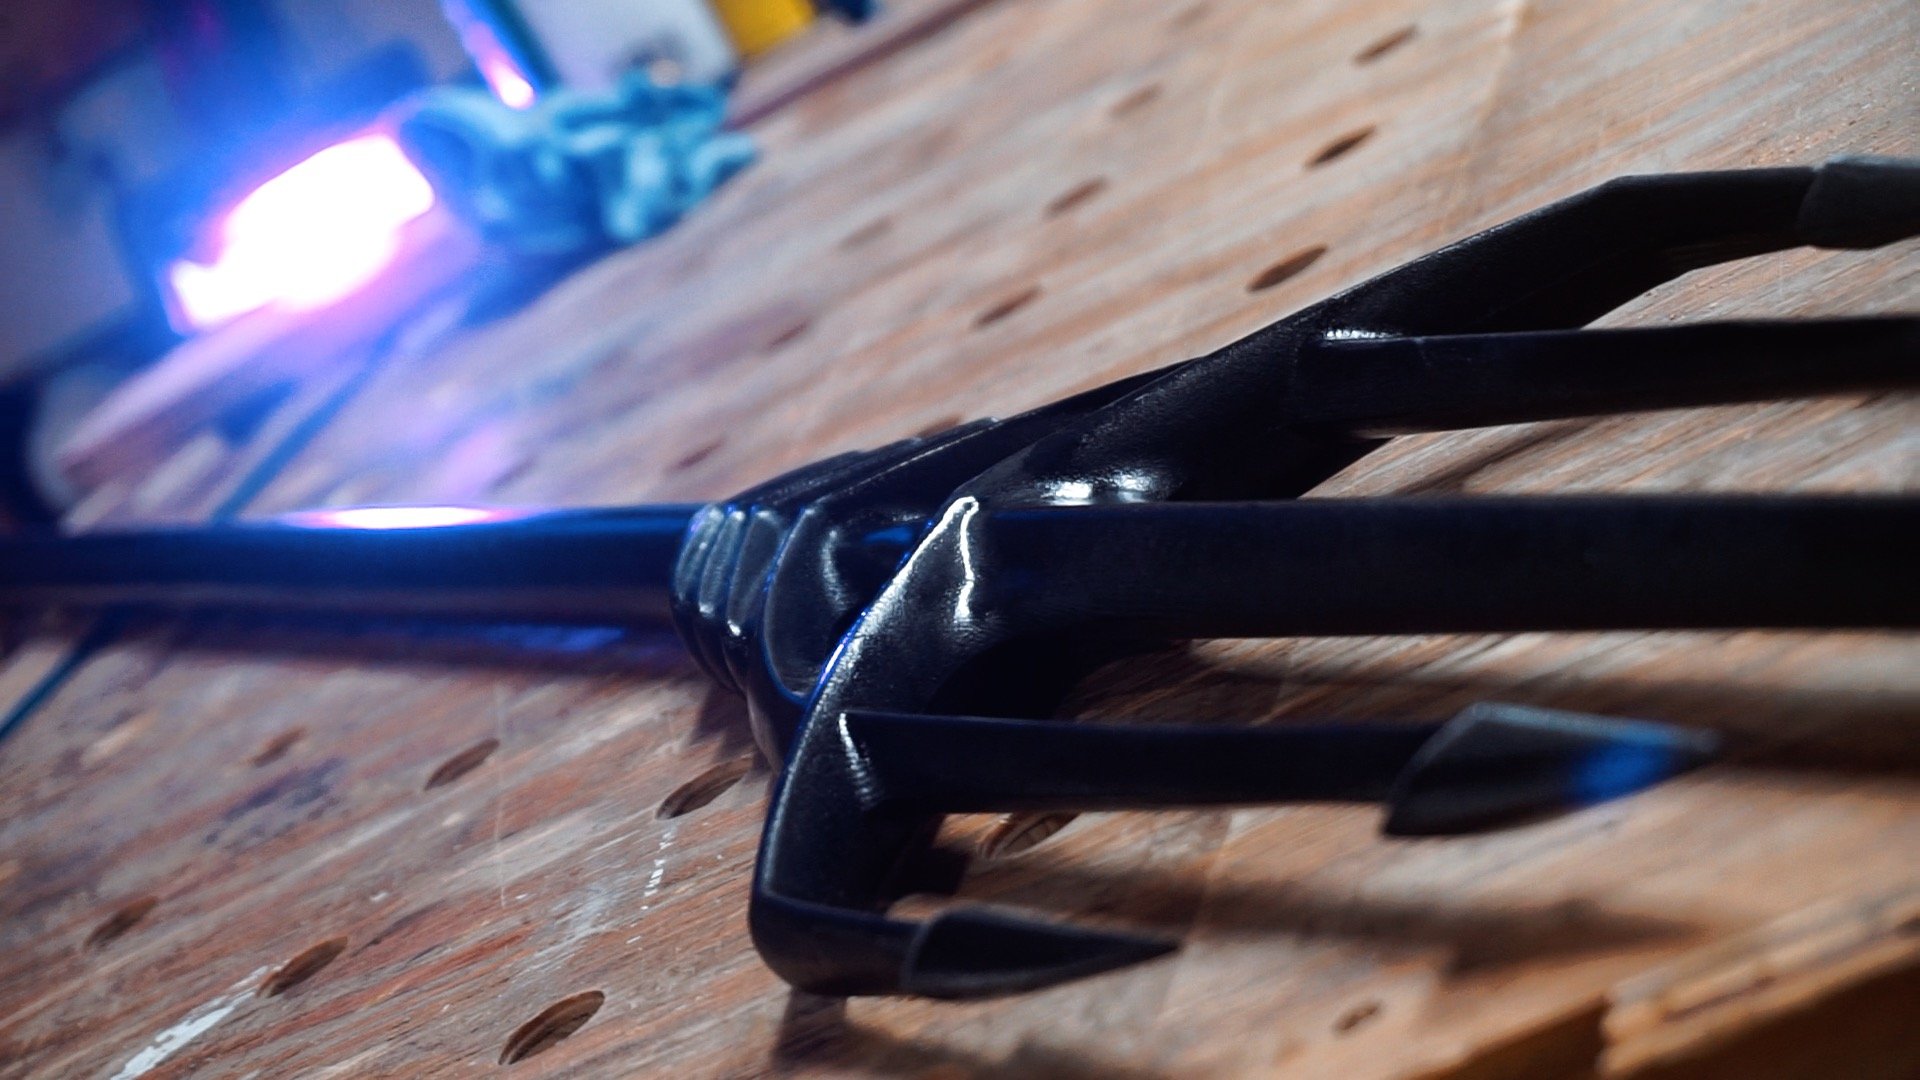
You can't do all this work and not have a nice finish. after a few coats of primer and black paint. I broke out the Graphite powder to add a sheen to the Trident that makes it look more like metal.
I love this stuff!
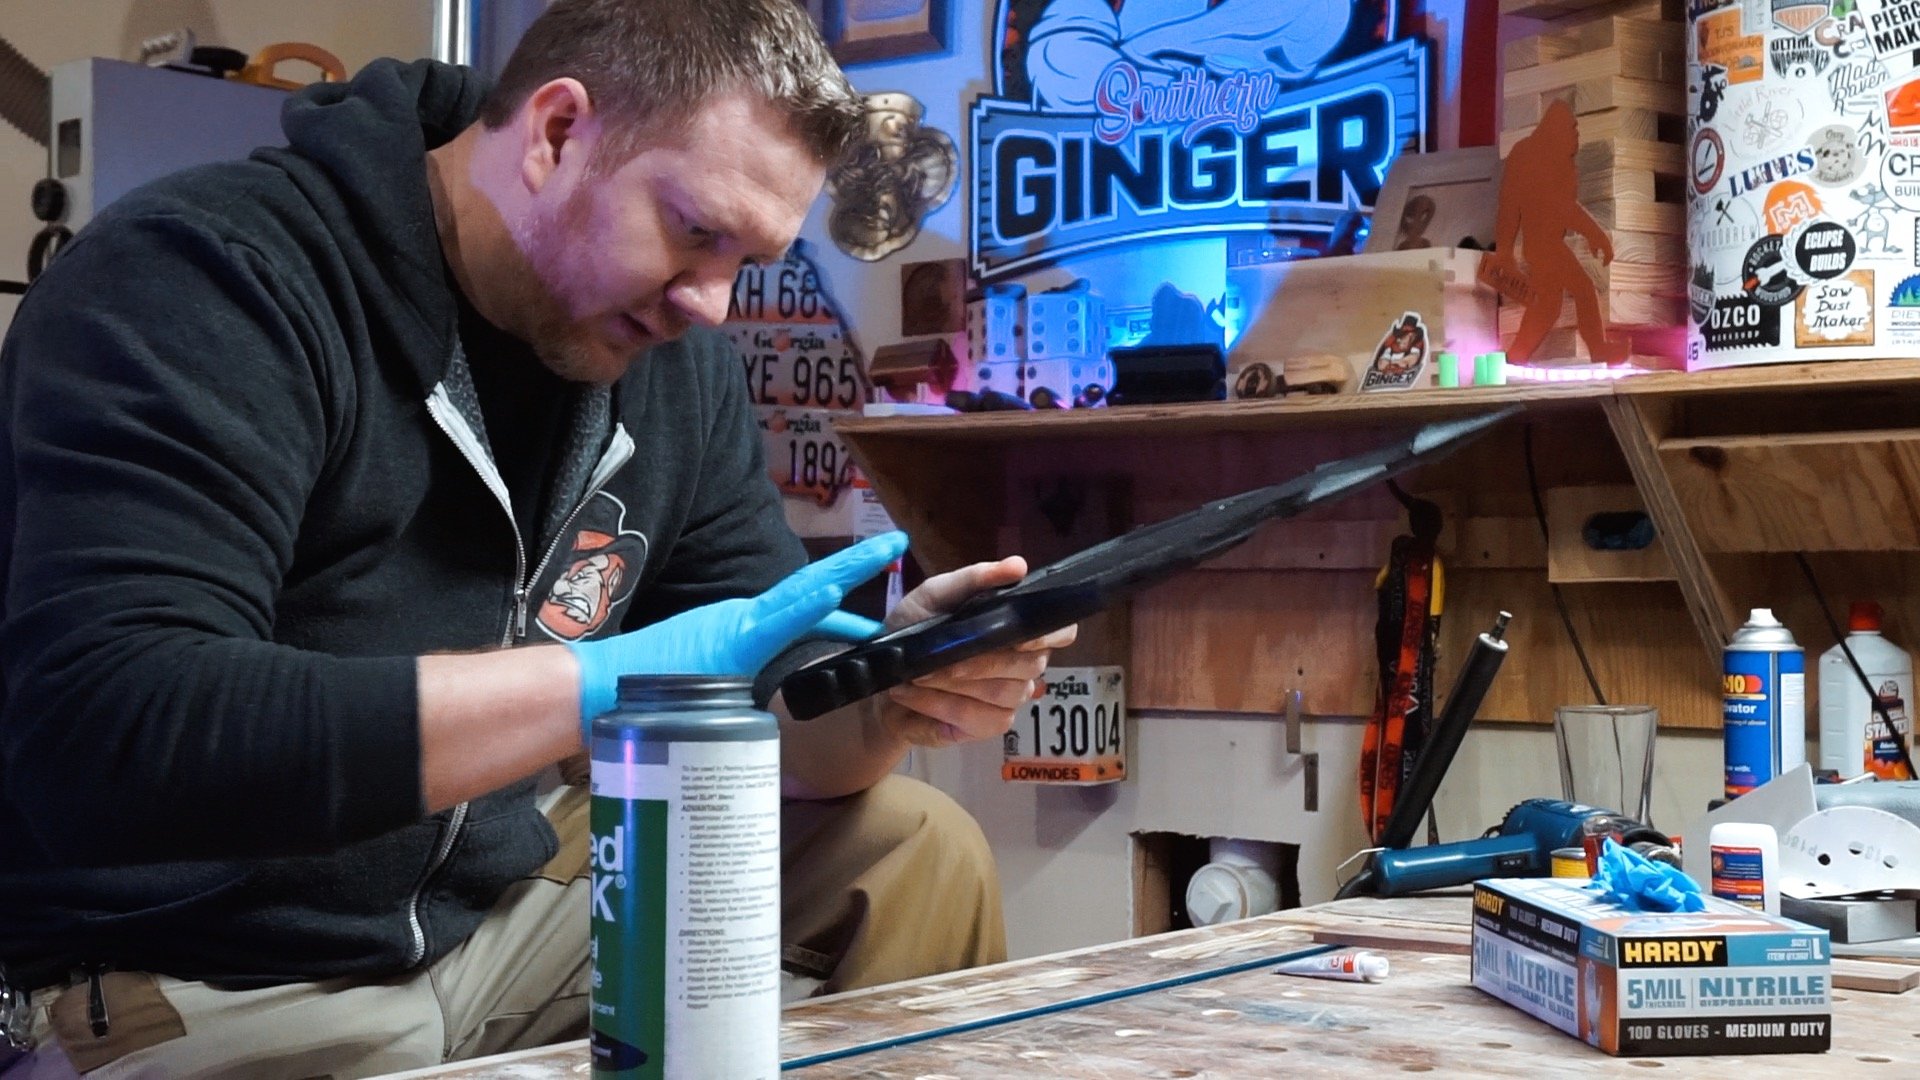
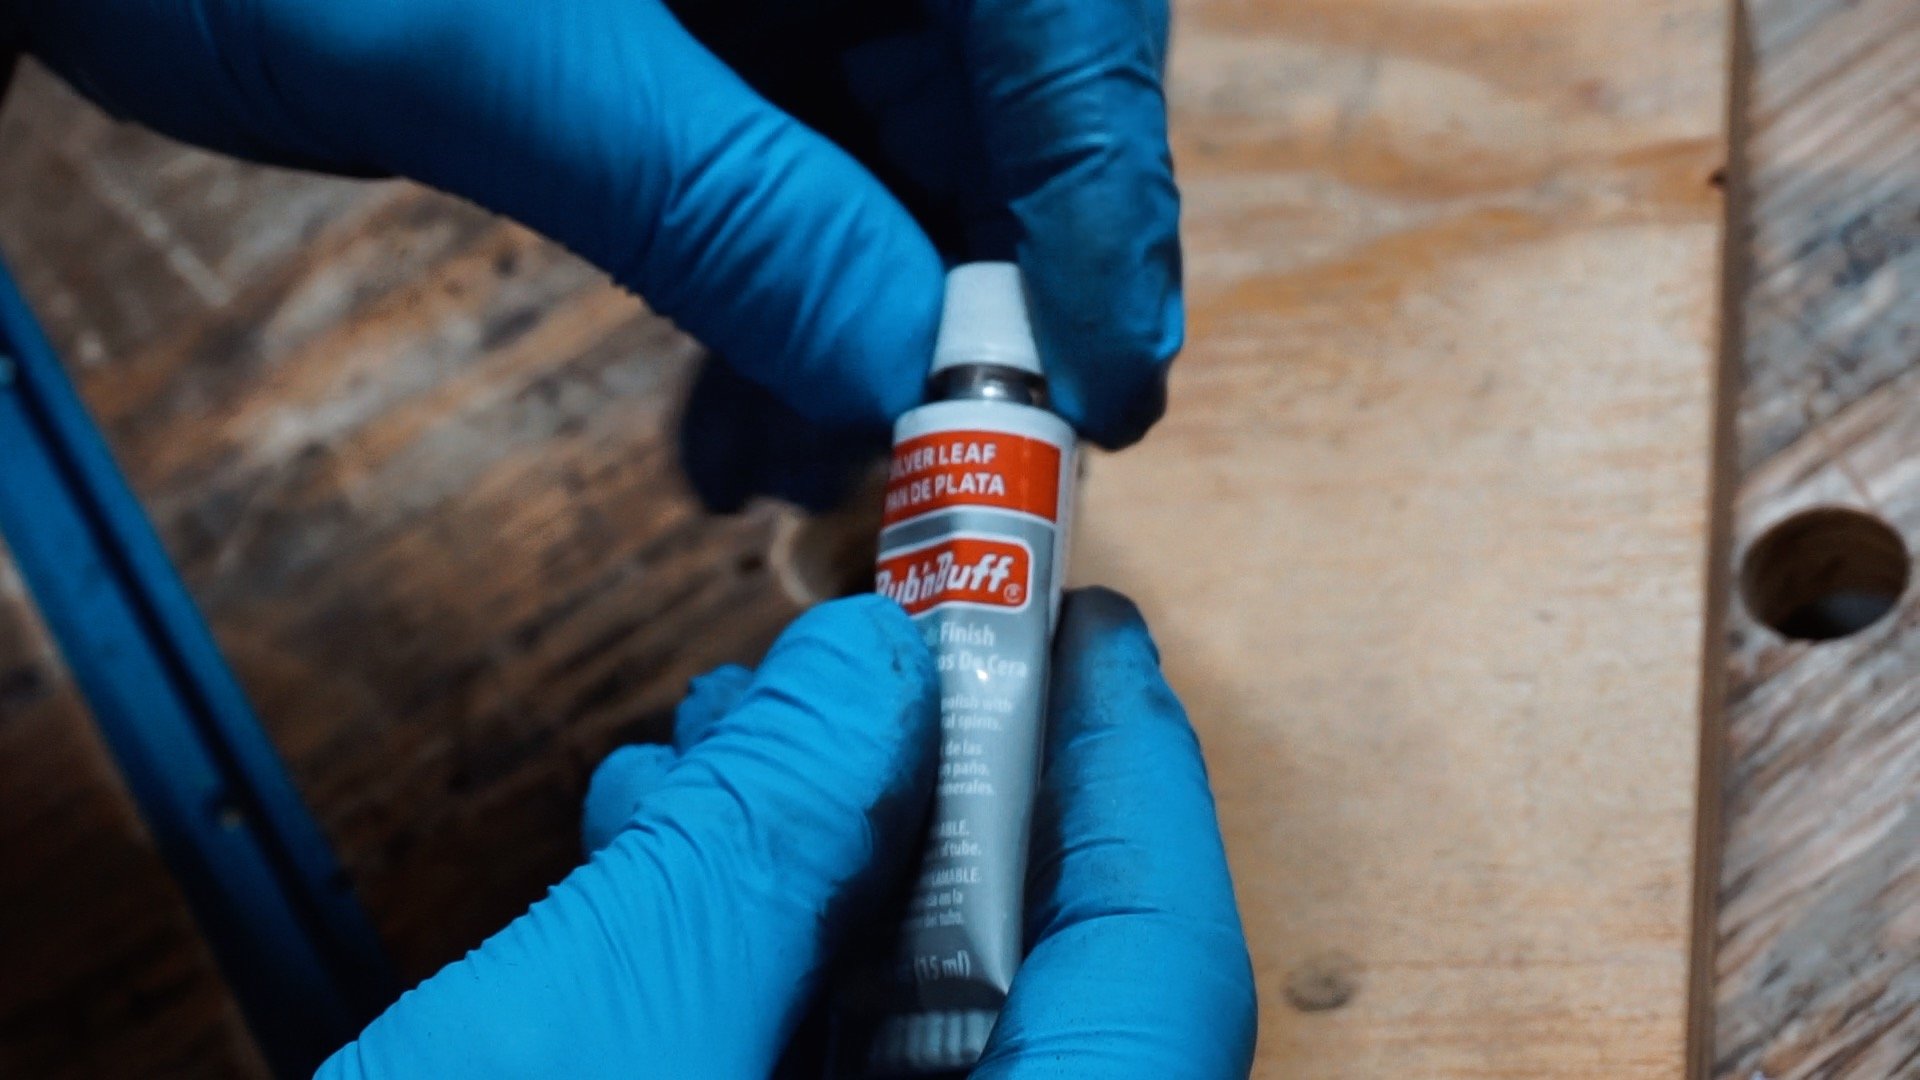
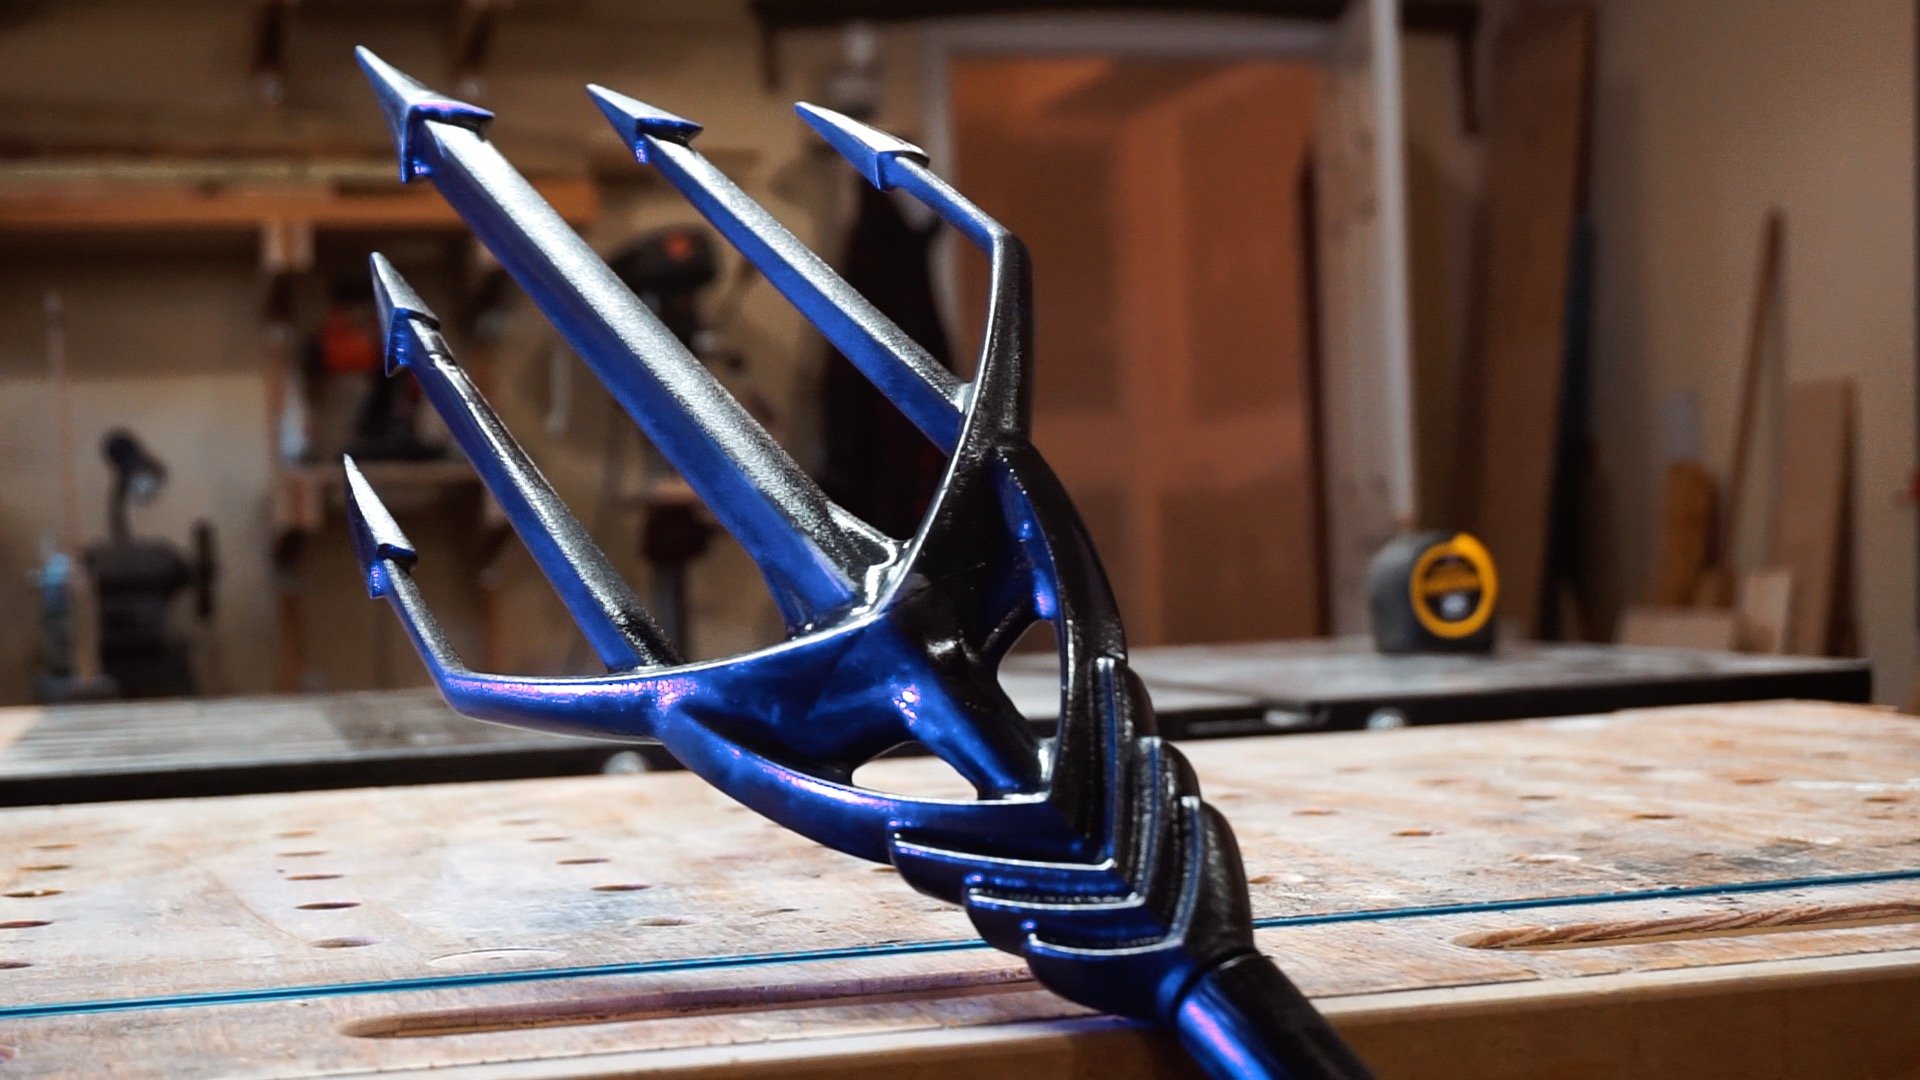
After you are happy with the graphite powder... that will give you a good set of mid-tones, you will want to add the highlights. My favorite is to use rub-'n-buff. This is a waxy finish with metal flake. It really makes the finish pop!
After that is all down, seal it up with some clear of some kind and you're ready to enjoy it!
I really like how this came out!
Zach's pro tip
I forgot to add CNC tabs between the forks of the Trident… 4hrs later on the 2nd side of the relief cut, I heard a chatter and crack… One of the folks broke off. Luckily I was able to recover with some super glue but in the future make sure those folks are stable!